The new Pulsar app
Download the Pulsar app for tablets and phones and use it to log stops, operators, SKUs, production and defects, and to review past shifts.
The Pulsar app is designed for tablets on the plant floor, and also works on phones. To download it, search for Pulsar App in the Apple App Store or the Google Play Store, then sign in with your Pulsar email and password.
Video
If you open app.pulsarml.com in a tablet's or phone's browser, it takes you to mobile.pulsarml.com, the previous web version for mobile devices. This page describes the app you install from the store.
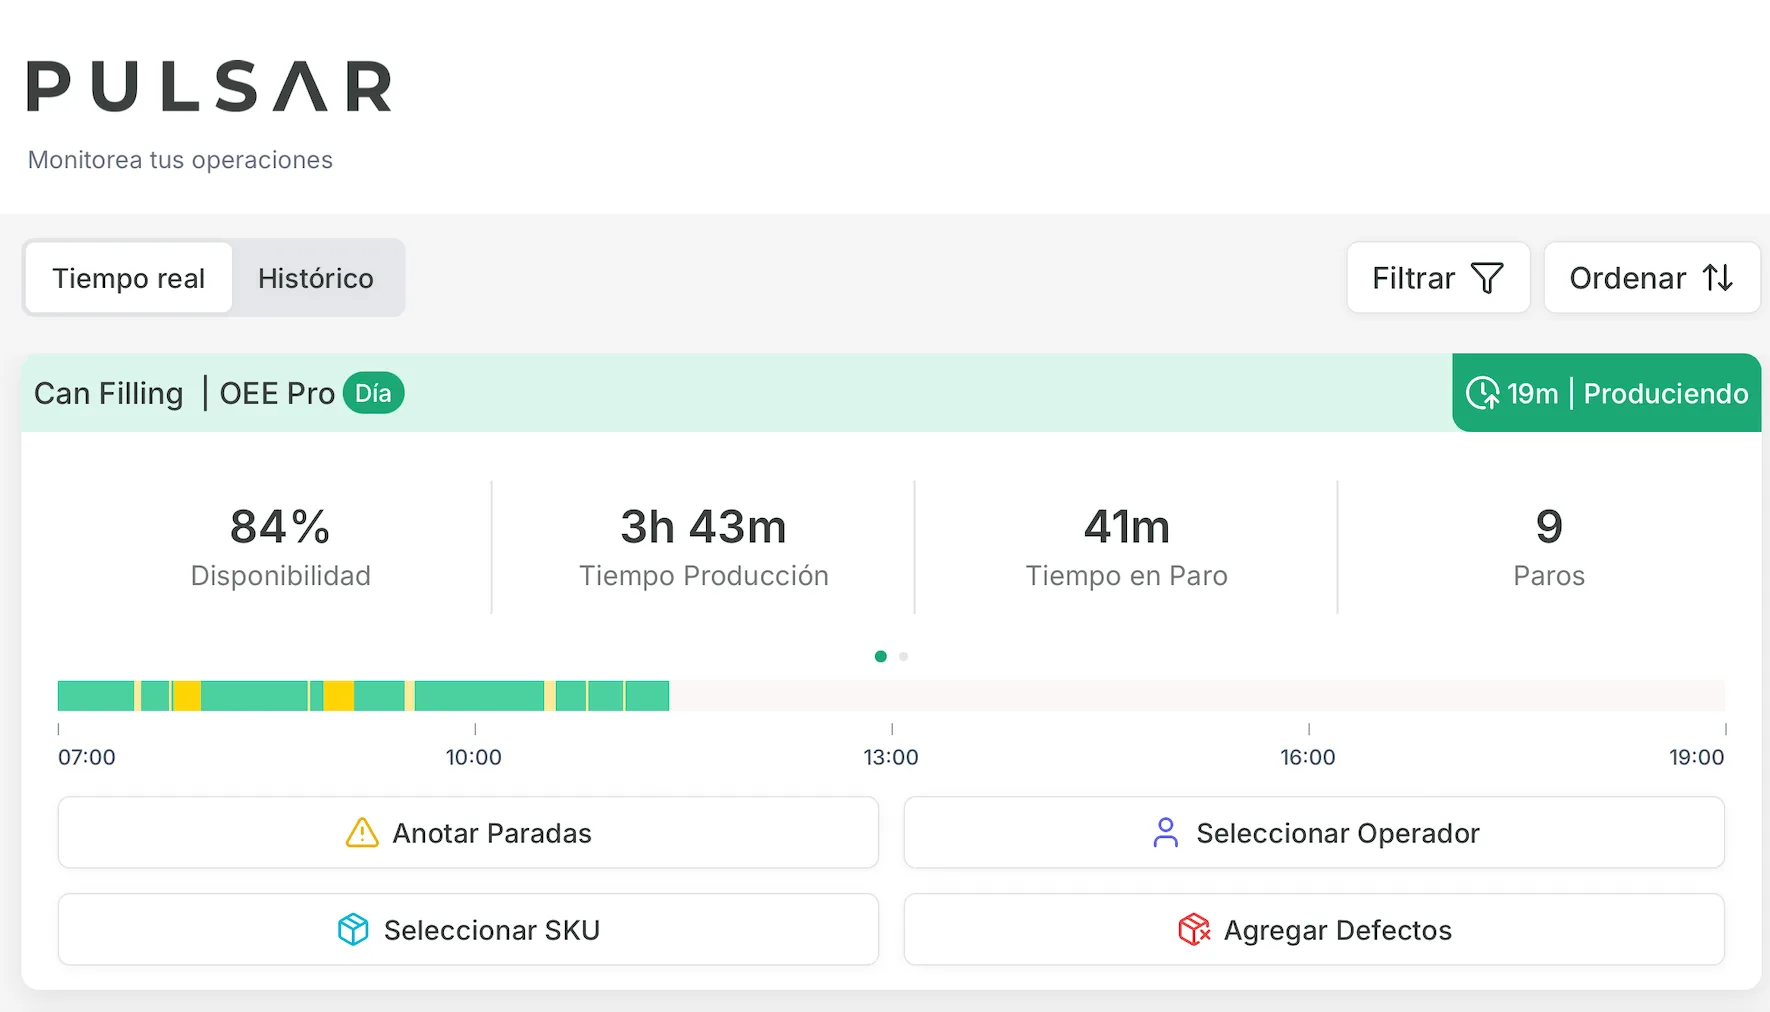
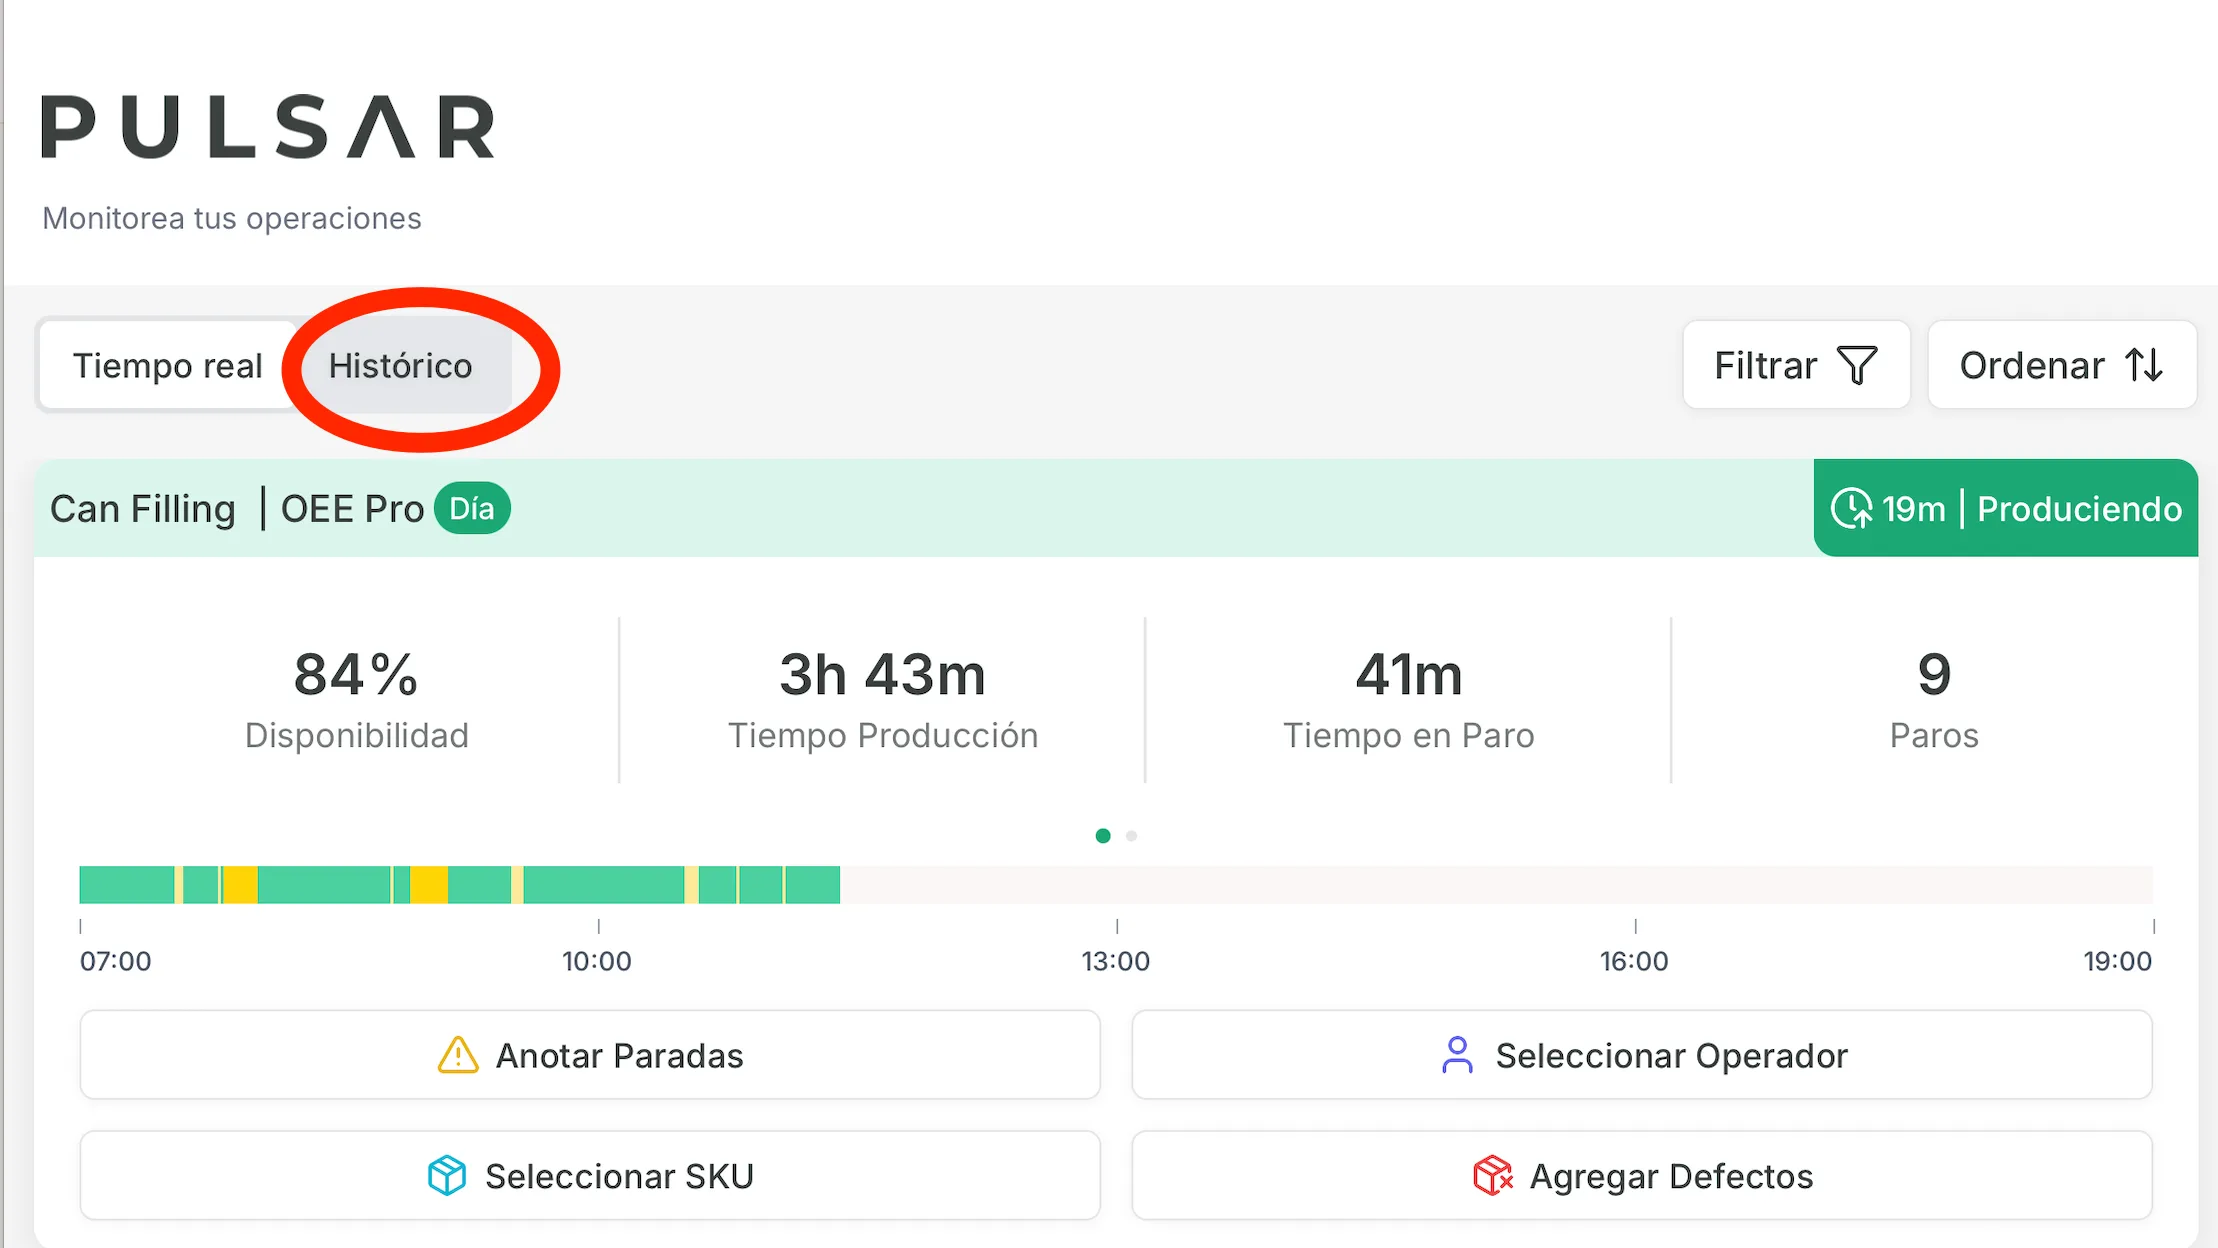
The bar at the bottom of the app has three icons: notifications, Home and Settings. Home lists your machines in the Realtime view. Each machine's card shows its status, metrics and shift timeline, and below them the buttons you use to enter data: Annotate Stops, Select Operator, Select SKU, Add Production and Add Defects. Each machine only shows the buttons that apply to its Pulsar plan.
Log stops
Video
Tap Annotate Stops on the machine's card. In the list of stops, tap Label Stop on a stop, choose its general cause and specific cause, review the summary and tap Submit.
To split a stop, tap the stop and then Split.
Video
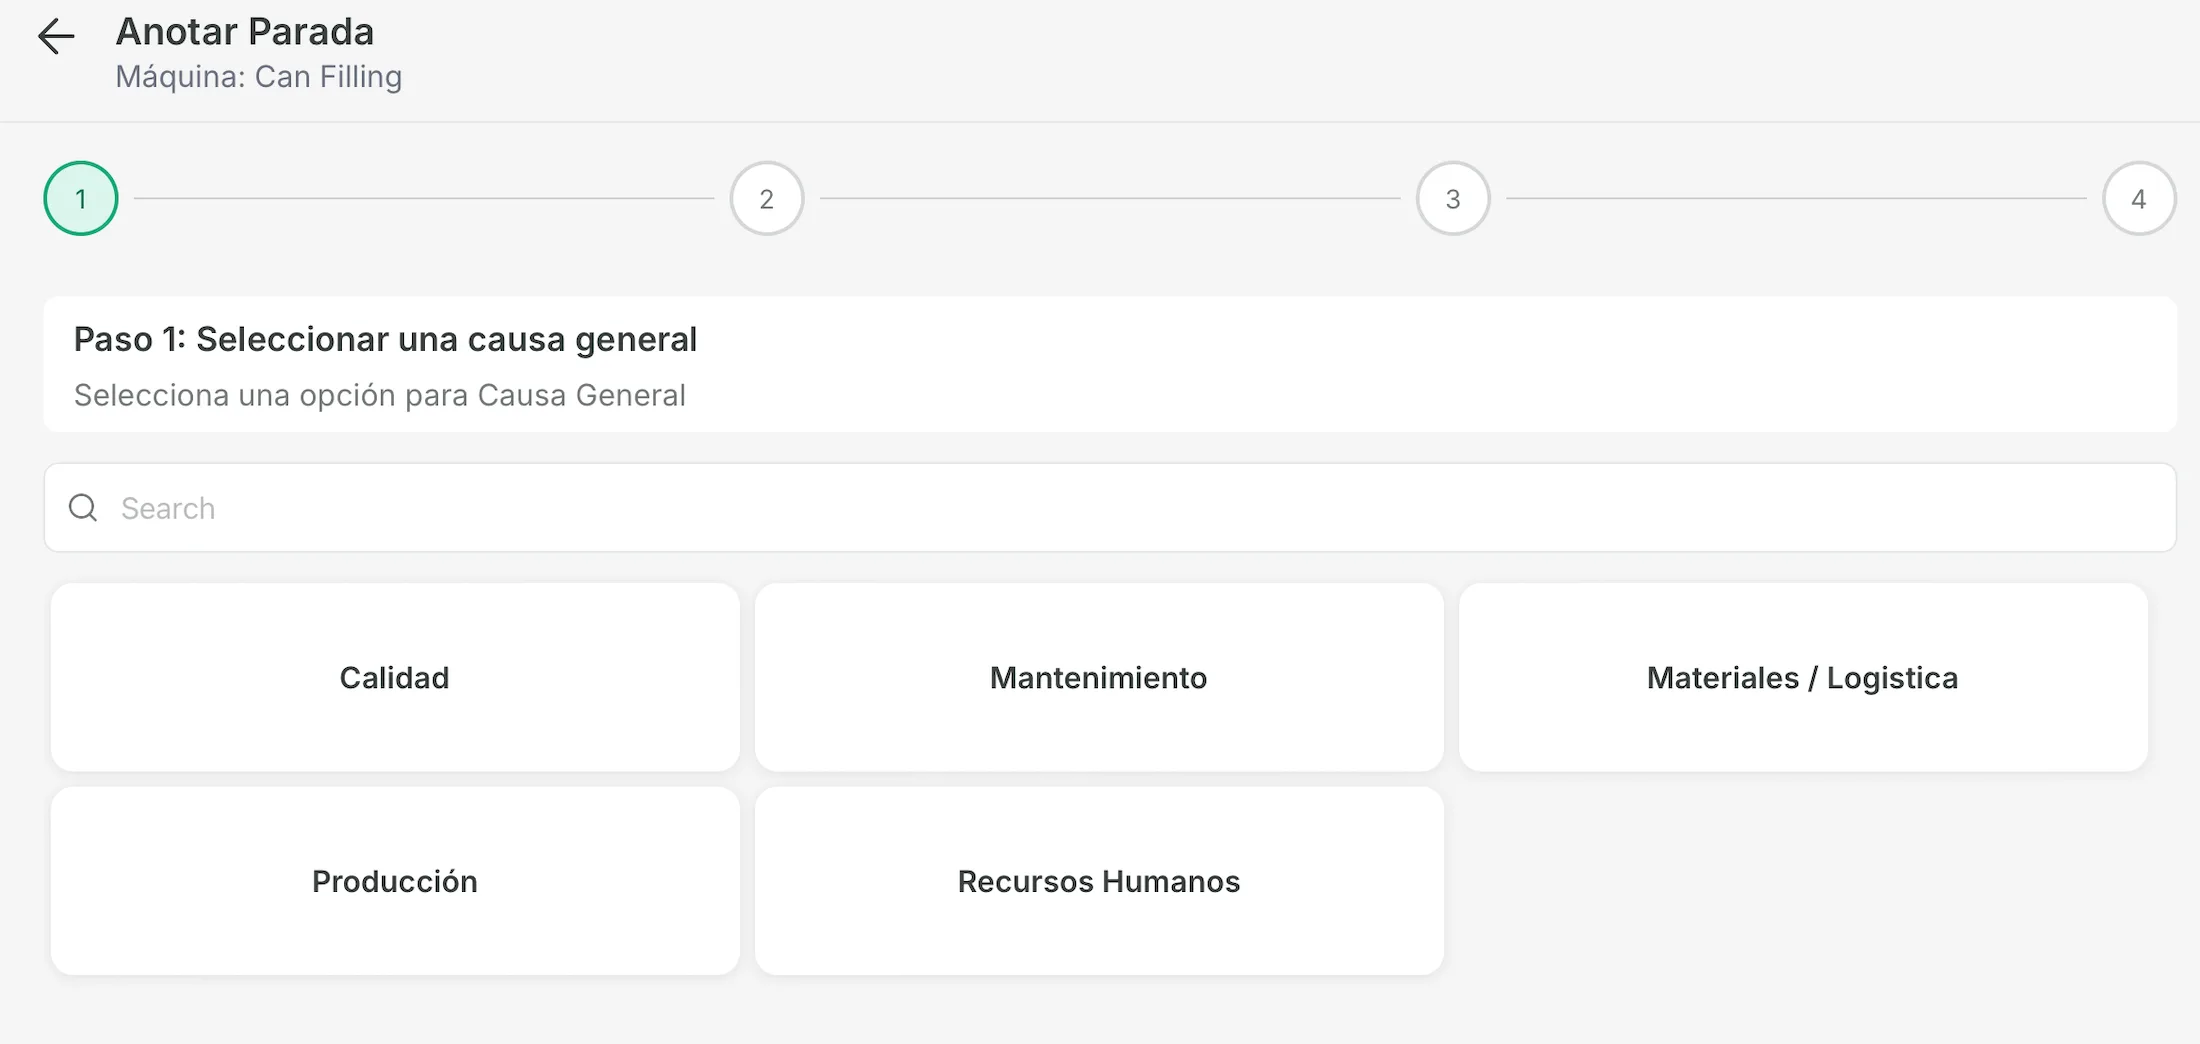
For the full walkthrough, see Classify stops in the app.
Select the operator
Video
Tap Select Operator on the machine's card, then tap the operator's name, using the Search field if you need to. Save your selection with Submit.
Once the machine has an operator, the button shows that operator's name. To change it, tap it: in Step 1: Change operator choose the new operator, tap Next, and in Step 2: Select time set the Start Time when the new operator took over. Then tap Submit. Operators are recorded in order, so the start time must be after the shift started and before the current time.
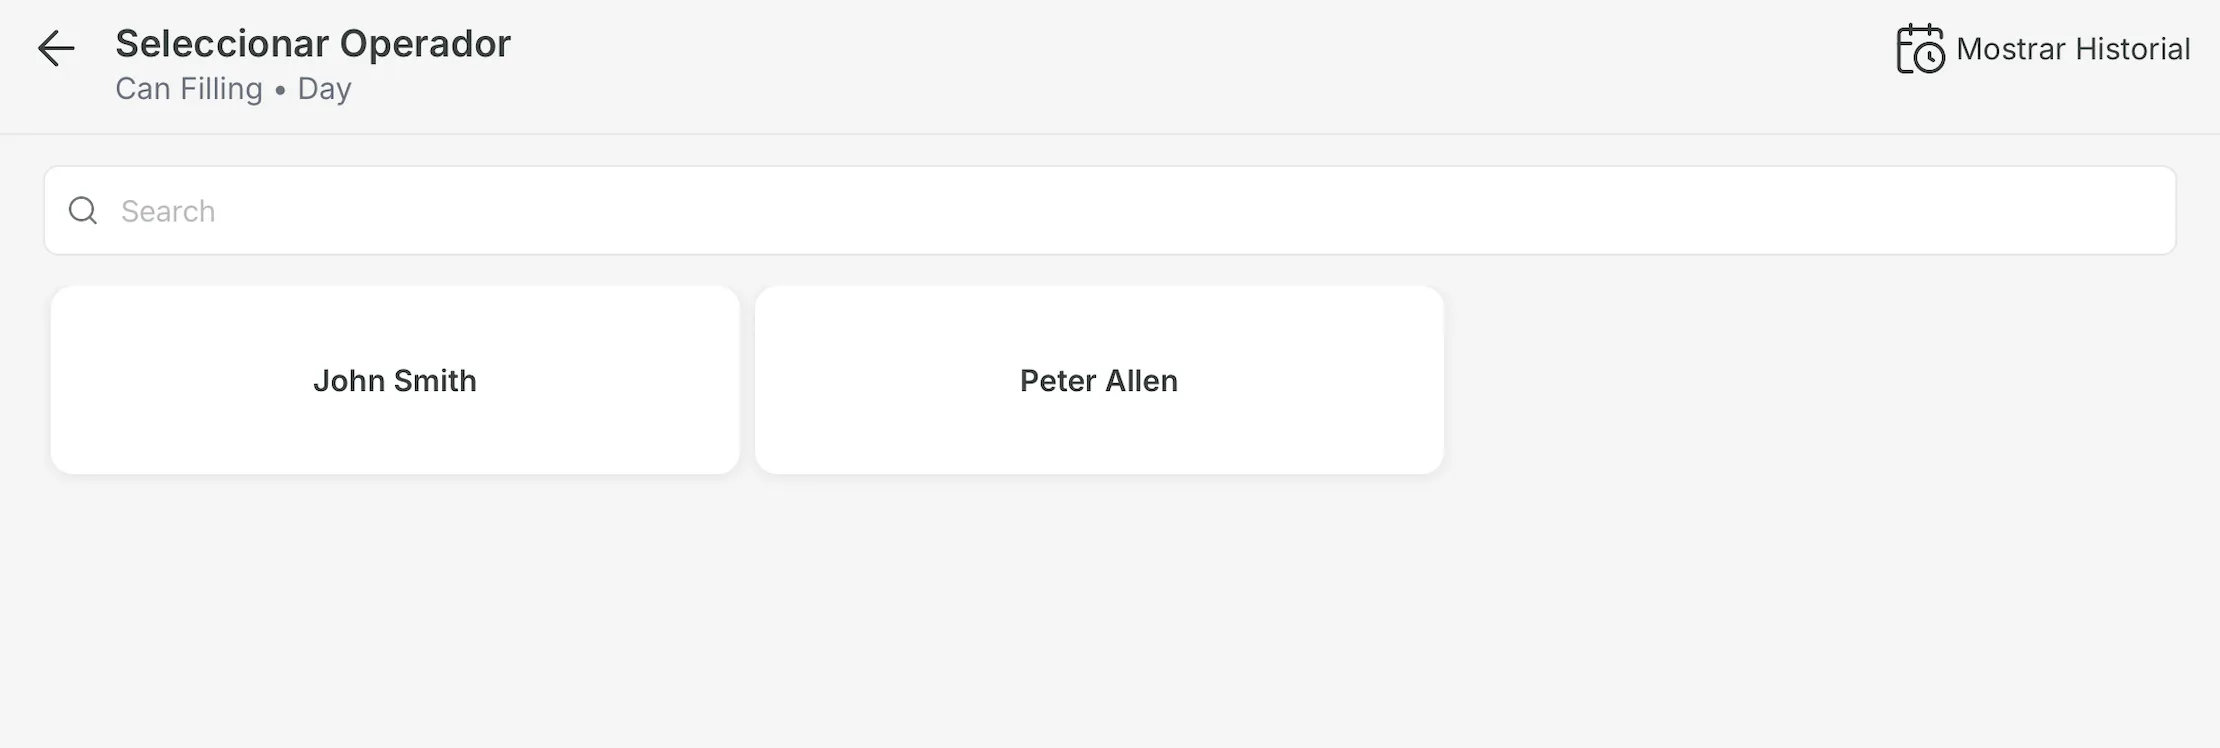
Show History, at the top right, lists the operators recorded in the shift. On a phone it shows only as an icon.
Select the SKU
Video
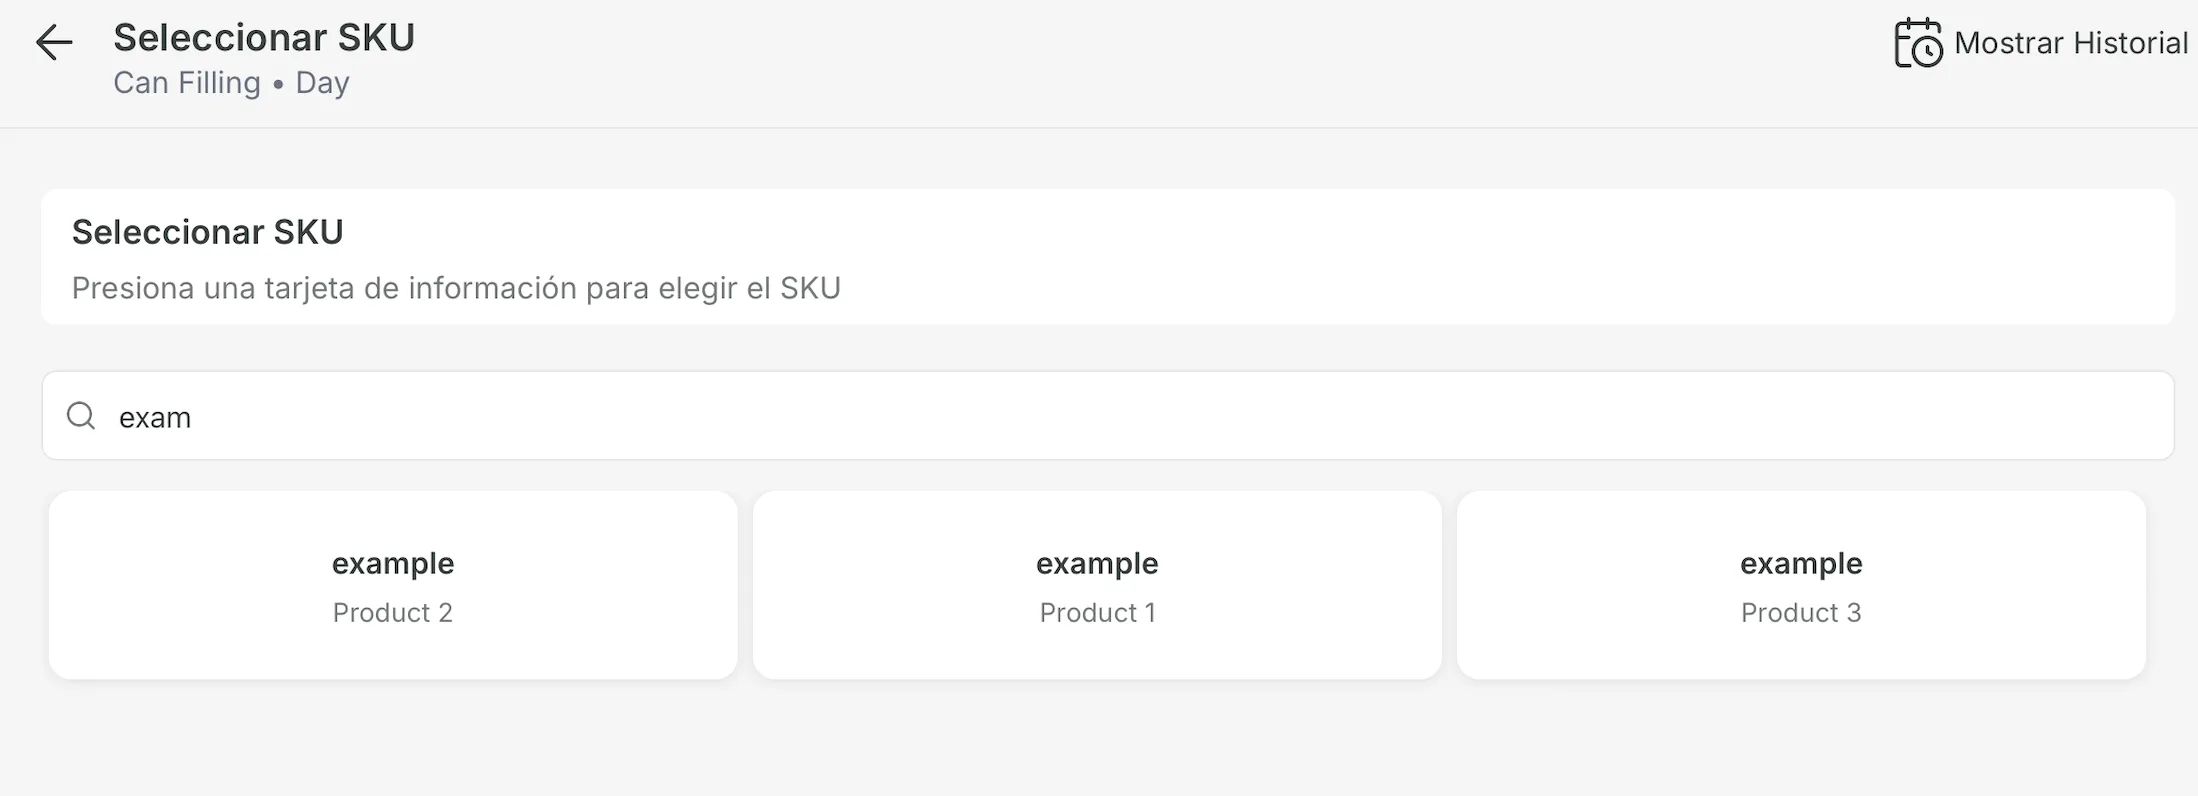
Select SKU appears on machines whose production is counted automatically. Tap it, then tap the SKU, or type in the Search field to find it more easily, and tap Submit.
You change the SKU from the same button, which then shows the current SKU's code. When you do, the screen is called Change SKU: choose the new SKU, tap Next, and set the Start Time when production of the new SKU started. You can make as many SKU changes as you need. Always save with Submit.
If your account uses production orders, a Select Production Order step follows, where you choose an order or create one with + Add new. That step is optional: tap Skip to leave it out.
Add production
On machines where production is entered by hand, the card has an Add Production button instead of Select SKU. You use it to record how much you produced, of which SKU and up to what time. See Production Lite.
Add defects
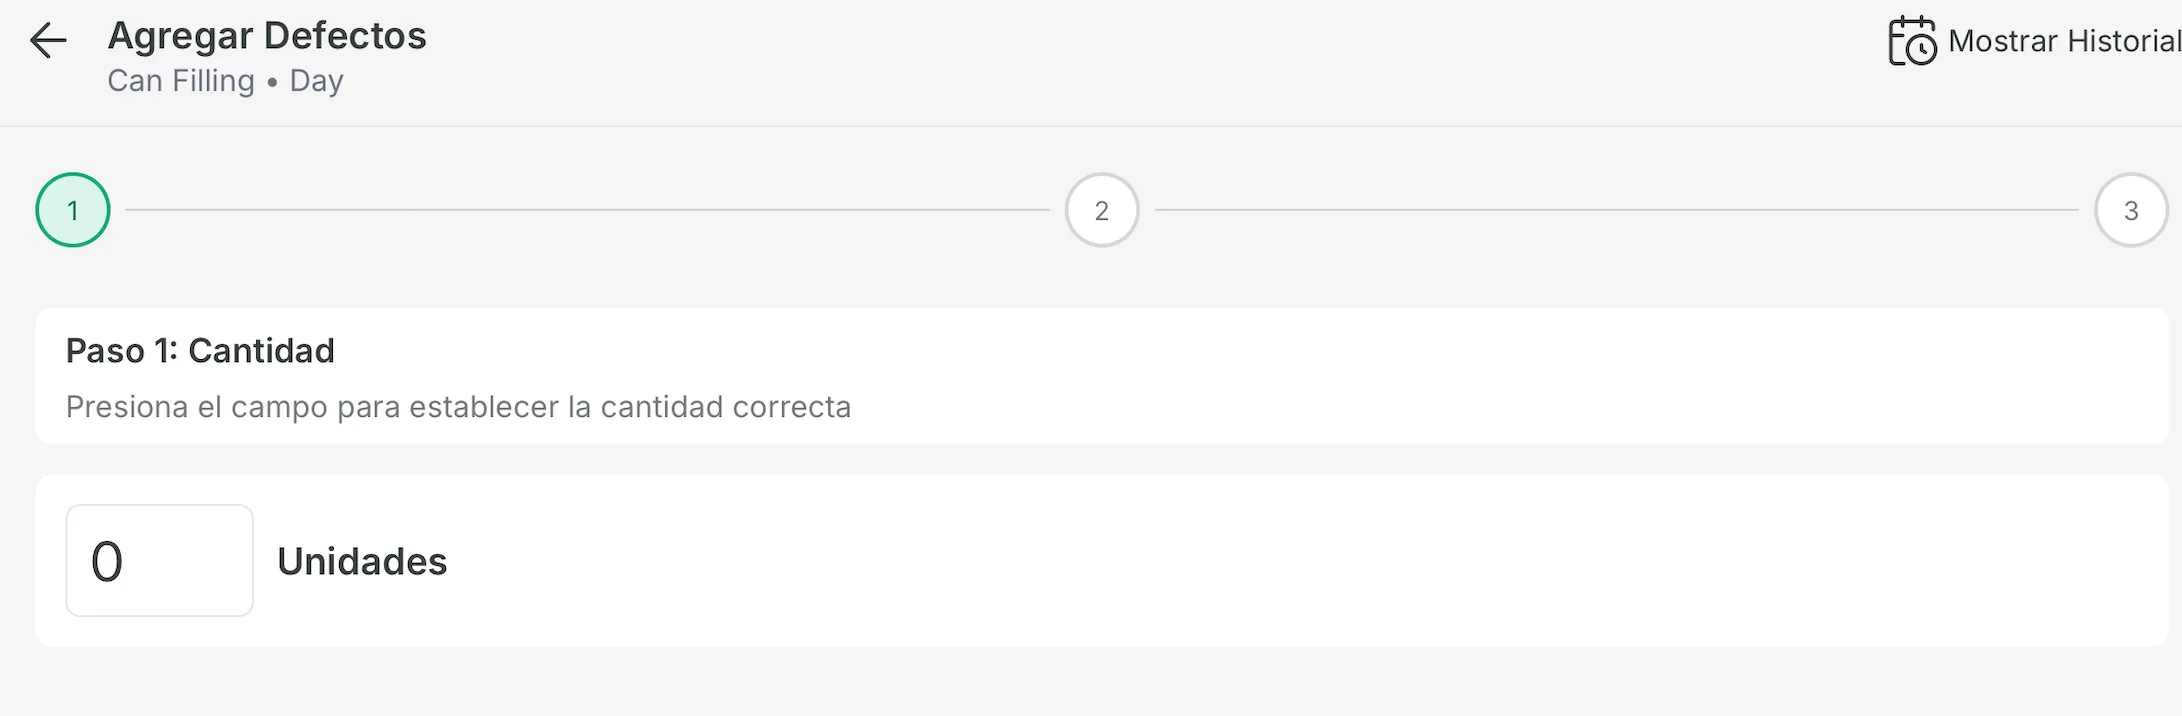
Tap Add Defects on the machine's card. It takes these steps:
- Quantity: enter the number of defects. It must be more than 0 and no more than the total produced.
- Select SKU: choose the SKU the defects belong to. Only the SKUs of the machine's current shift appear.
- If your account uses them, choose a production order and a quality group.
- Defect Type: choose the type of defect.
Tap Submit to save. The button doesn't appear on machines whose defects are counted by a sensor.
If the app shows No defect types found, ask your Pulsar contact to confirm that your administrator has set up defect categories.
Historical shifts
- On Home, tap Historical.
- Choose the Date and the Shift, such as Morning, Afternoon, Night or Day, depending on your plant's shifts.
- Tap Apply.
A banner tells you that you're viewing historical data for that shift and date. To go back, tap Realtime.
Filter and sort
Use Filter to show machines by status: Producing, Stopped, Alert, No Data or Out of Shift. Use Sort to order them by Machine Name (A-Z), Machine Name (Z-A) or Defined by Admin. Tap Apply to use your choice.
Settings
In Settings you see your name and email at the top, and these options:
- Plant, under Company: the plant you're viewing.
- Machine Group, under Machines: the machine groups shown on Home.
- Language, under Preferences: English or Spanish.
- Push Notifications, under Preferences: turns alerts on this device on or off. It appears only on accounts with push notifications enabled.
- Support ticket, under App Support: opens a ticket for Pulsar's support team, the same as in the previous version of the app.
- Help & Docs, under App Support: opens Pulsar's help site in the browser.
- App Version, under About: the version of the app you're using.
When a new version of the app is available, the app asks you to update it.
Notifications
Tap the bell icon, the first one in the bottom bar, to open Notifications: your machines' alerts, grouped by day under Today, Yesterday and earlier dates. Use All, Unread or Read at the top to filter the list, and Mark all as read to mark every notification as read. Tap a notification to mark it as read and go to that machine's card on Home.
If you still have questions, contact your Customer Success Manager.