ERP machine mapping
Give each Pulsar machine the name your ERP system uses for it, one by one or from a CSV file.
Your ERP system may call a machine something different from its name in Pulsar. ERP Machine Mapping stores, for each machine with production, the name it has in your ERP, so that integrations between the two systems can match the same machine. It only links names; it doesn't send data to your ERP. To open it, go to Settings → Production and click the ERP Machine Mapping tab.
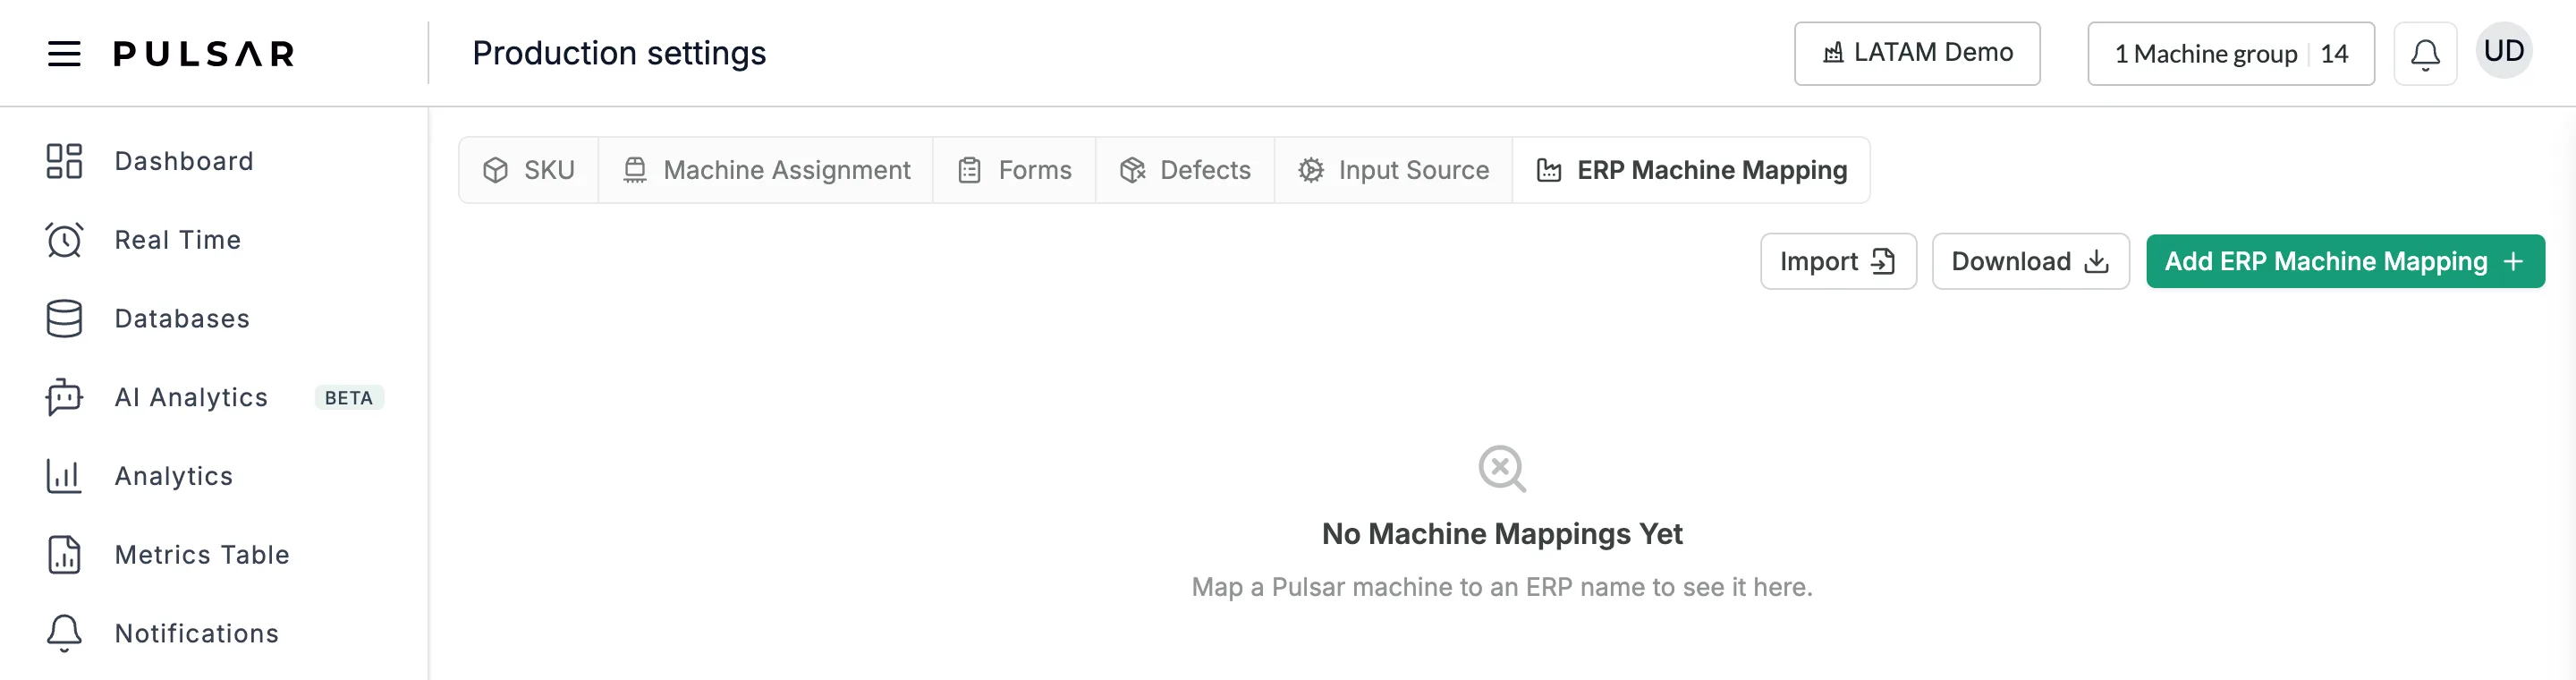
The mapping list
The tab lists the machines that already have an ERP name, with the Machine and its ERP name. Until you add one, it shows No Machine Mappings Yet. Each machine can have one ERP name. To change it, use the menu on the machine's row.
Add a mapping
Click Add ERP Machine Mapping. The Create ERP Machine Mapping dialog opens.
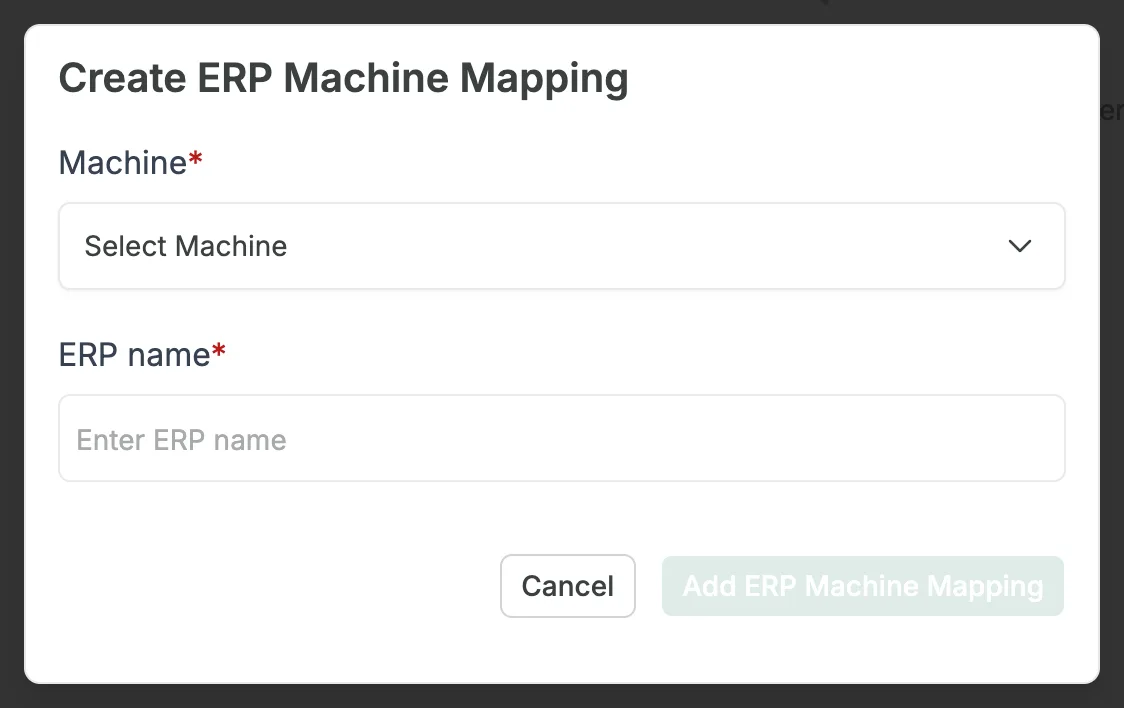
In Machine, choose the Pulsar machine. The list has a search box and only offers machines with production that don't have an ERP name yet.
In ERP name, type the machine's name exactly as it appears in your ERP.
Click Add ERP Machine Mapping, or Cancel to close the dialog without saving.
Import mappings from a file
Click Import. The Import ERP Machine Mapping dialog opens.
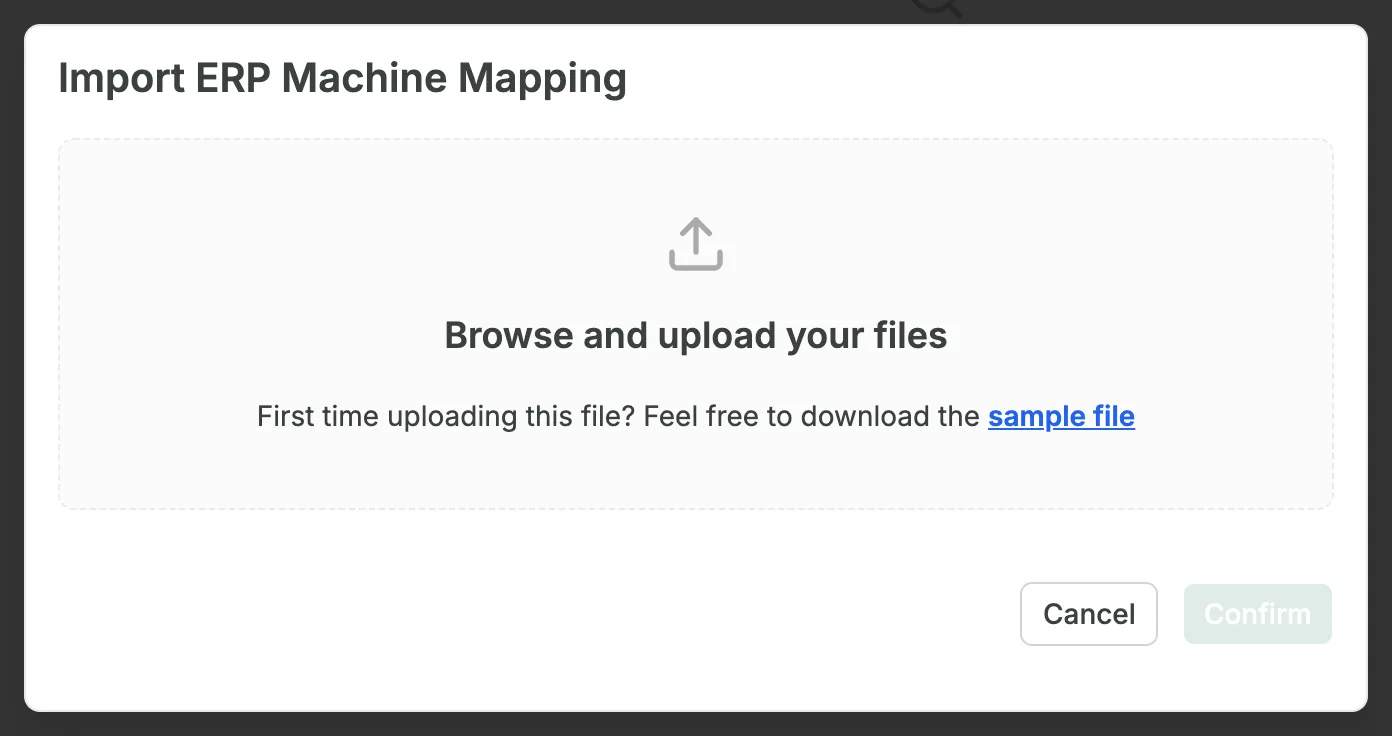
Click sample file to download the template, import-erp-machine-mapping.csv. It has two columns, Pulsar name and ERP name, and two example rows. Write one machine per row: its name in Pulsar, then its name in your ERP.
Click the upload area and choose your file. Only .csv files are accepted.
Click Confirm to import the mappings, or Cancel to close the dialog.
Download the mappings
Click Download to save the current mappings as ERP Machine Mapping.csv, with the columns Machine and ERP name.
For integrations that read Pulsar data from your own systems, see the API reference.