Production
Set up SKUs, nominal speeds, defect categories and production forms, one by one or in bulk from a CSV file.
Managing the information your plant needs for production can be a challenge. In Pulsar you can set up all of it in a few minutes: SKUs, nominal speeds, quality defects and the production forms.
Video
Go to Settings > Production. The page has the tabs SKU, Machine Assignment, Forms, Defects, Input Source and ERP Machine Mapping. In the data tabs you can create items one at a time with the add button (Add SKU, Add Nominal Speed, Add Defect), or load many at once with the Import button. Download saves the tab's current list as a .csv file.
Add items one by one
SKU
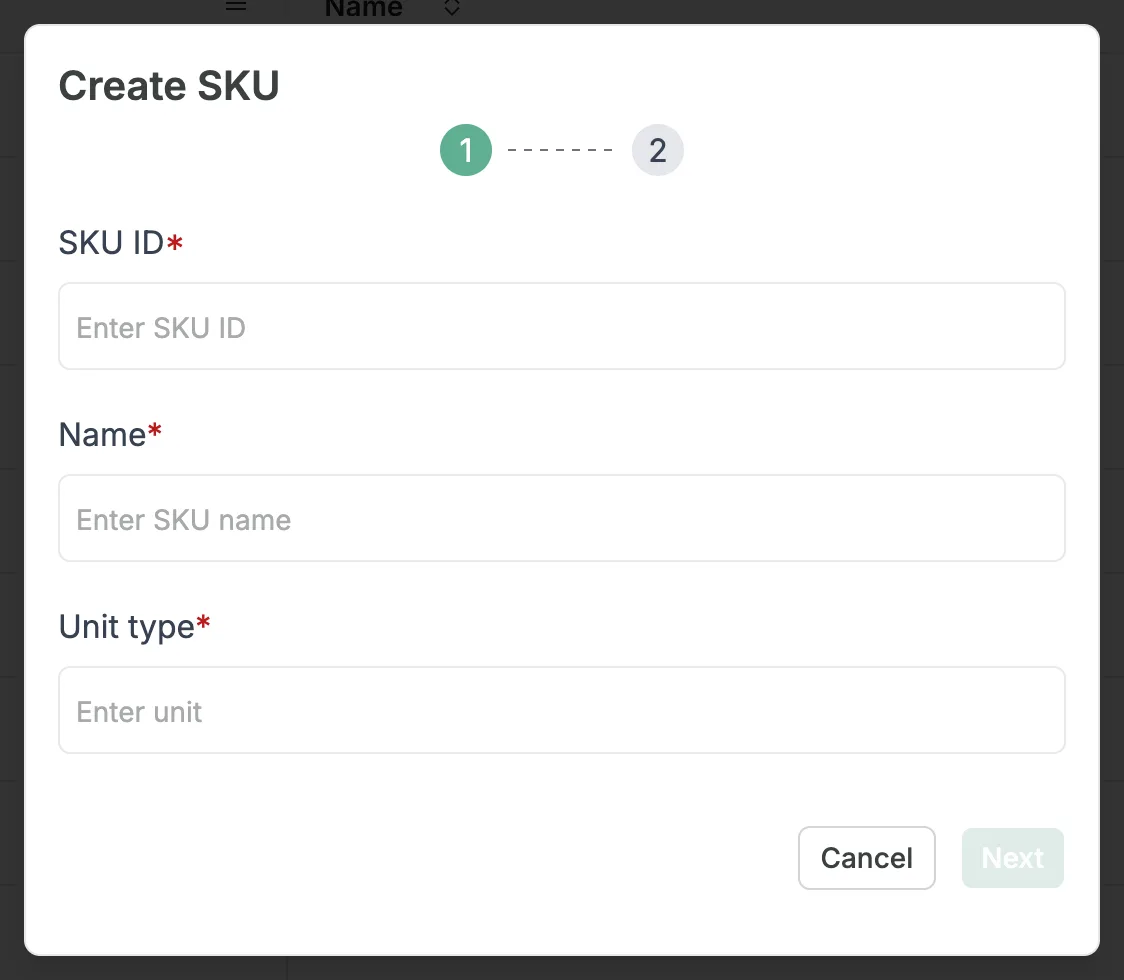
On the SKU tab, add the SKUs (or part numbers) your plant produces. Click Add SKU.
Enter the SKU ID (for example, 0014569-3), its Name (for example, 10-liter white box) and its Unit type (for example, Box). All three are required. Click Next.
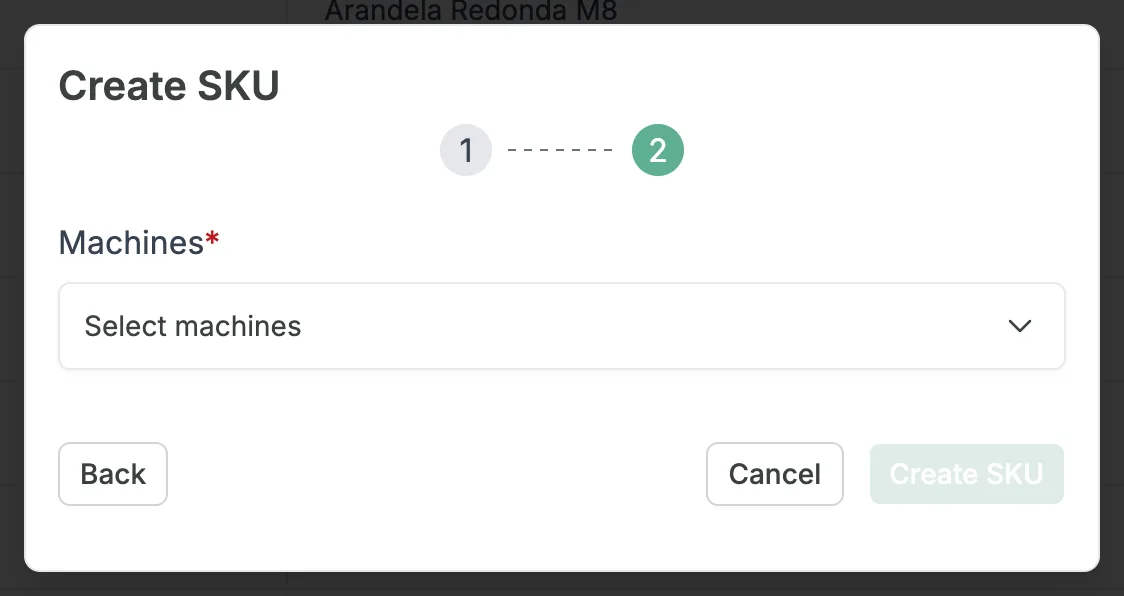
In Machines, select the machines that produce this SKU and click Create SKU.
To change or remove a SKU, click the three dots (⋮) in its Actions column and choose Edit SKU or Delete.
Nominal speed per machine and SKU
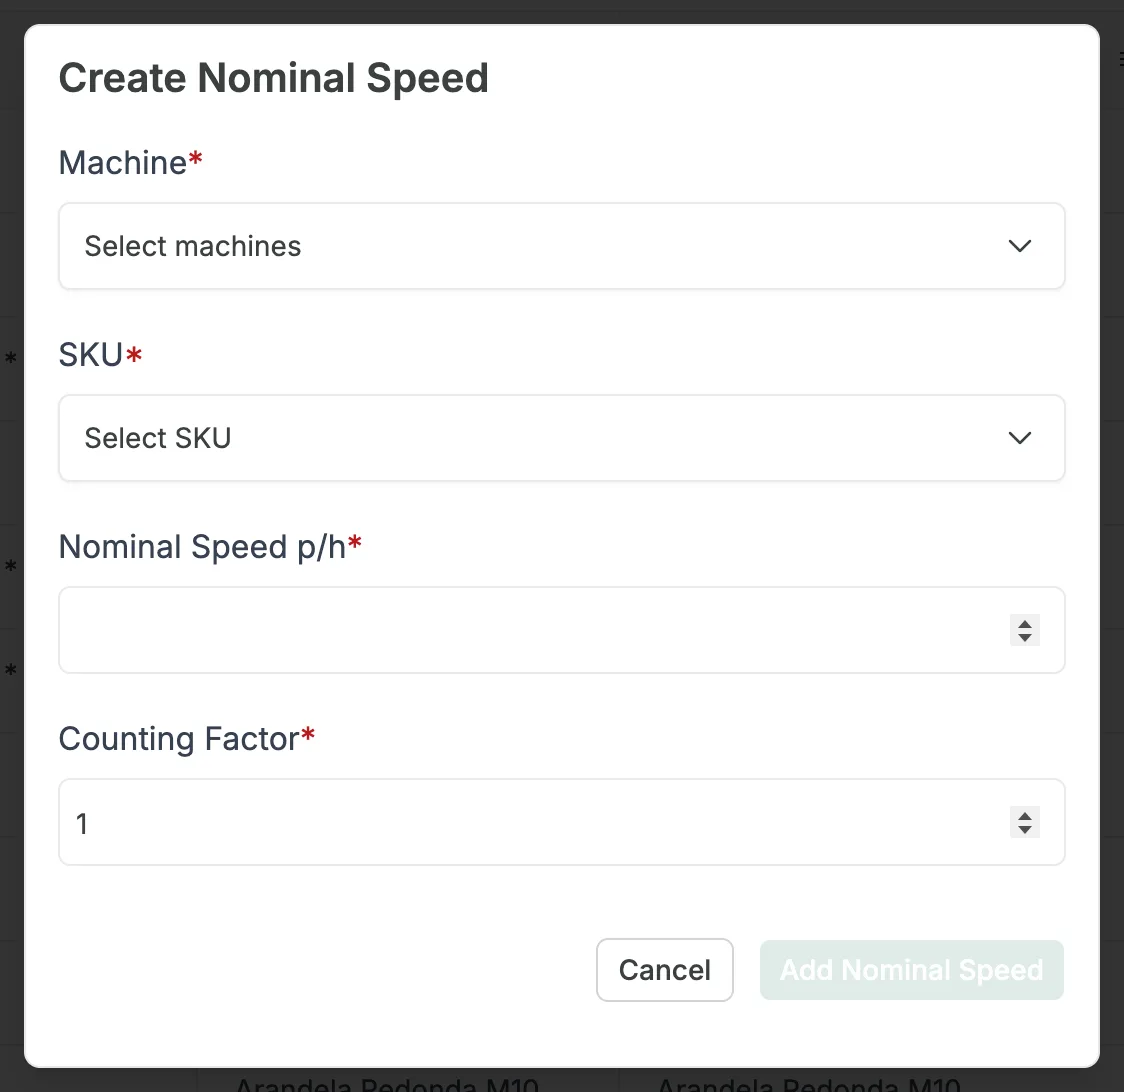
Nominal speed is the machine–SKU–speed relationship: how many units of the SKU (in its unit of measurement) a machine produces in one hour running at normal speed without interruptions. For example, Machine 1 produces 10 units if it runs for a full hour at normal speed with no interruptions.
On the Machine Assignment tab, click Add Nominal Speed.
- In Machine, select the machine (you can tick several).
- In SKU, select the related SKU.
- Enter the machine's Nominal Speed p/h for that SKU.
- Counting Factor: leave it at 1 when there's no need to multiply the quantities Pulsar records.
- Click Add Nominal Speed.
Defect categories
Load a catalog of defects so operators can choose why a SKU was rejected. This is optional.
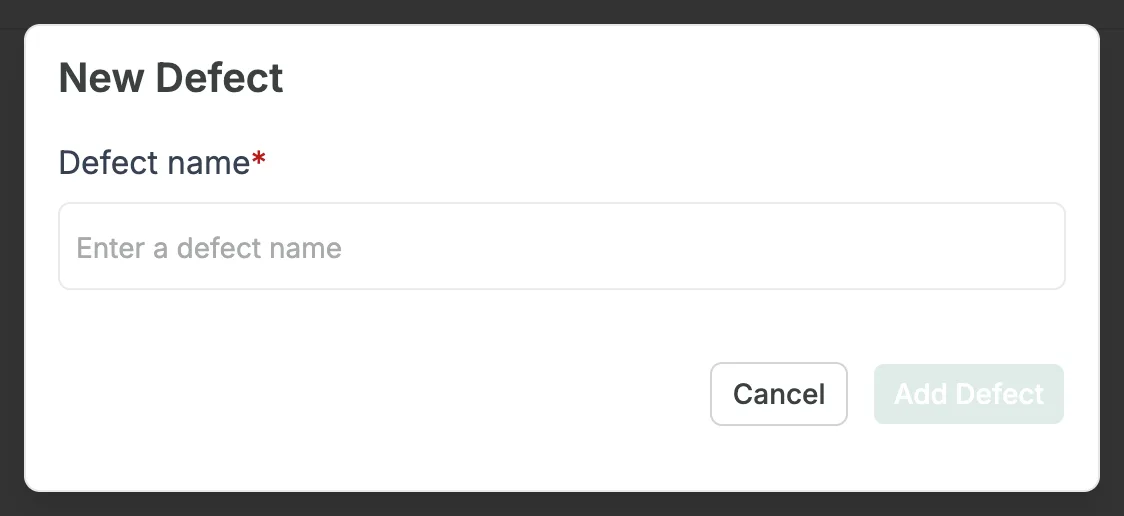
- On the Defects tab, click Add Defect.
- Enter the Defect name you want to record and click Add Defect.
Operators
The operator list is no longer in Production: it's under Settings > Operators, on the Operator List tab. Click Add Operator, enter each operator's First Name and Last Name, and click Create. That tab also has Import and Export.
If the operator needs to see their employee number or ID, we recommend putting it in the first name field, for example 00001 - John.
Production forms
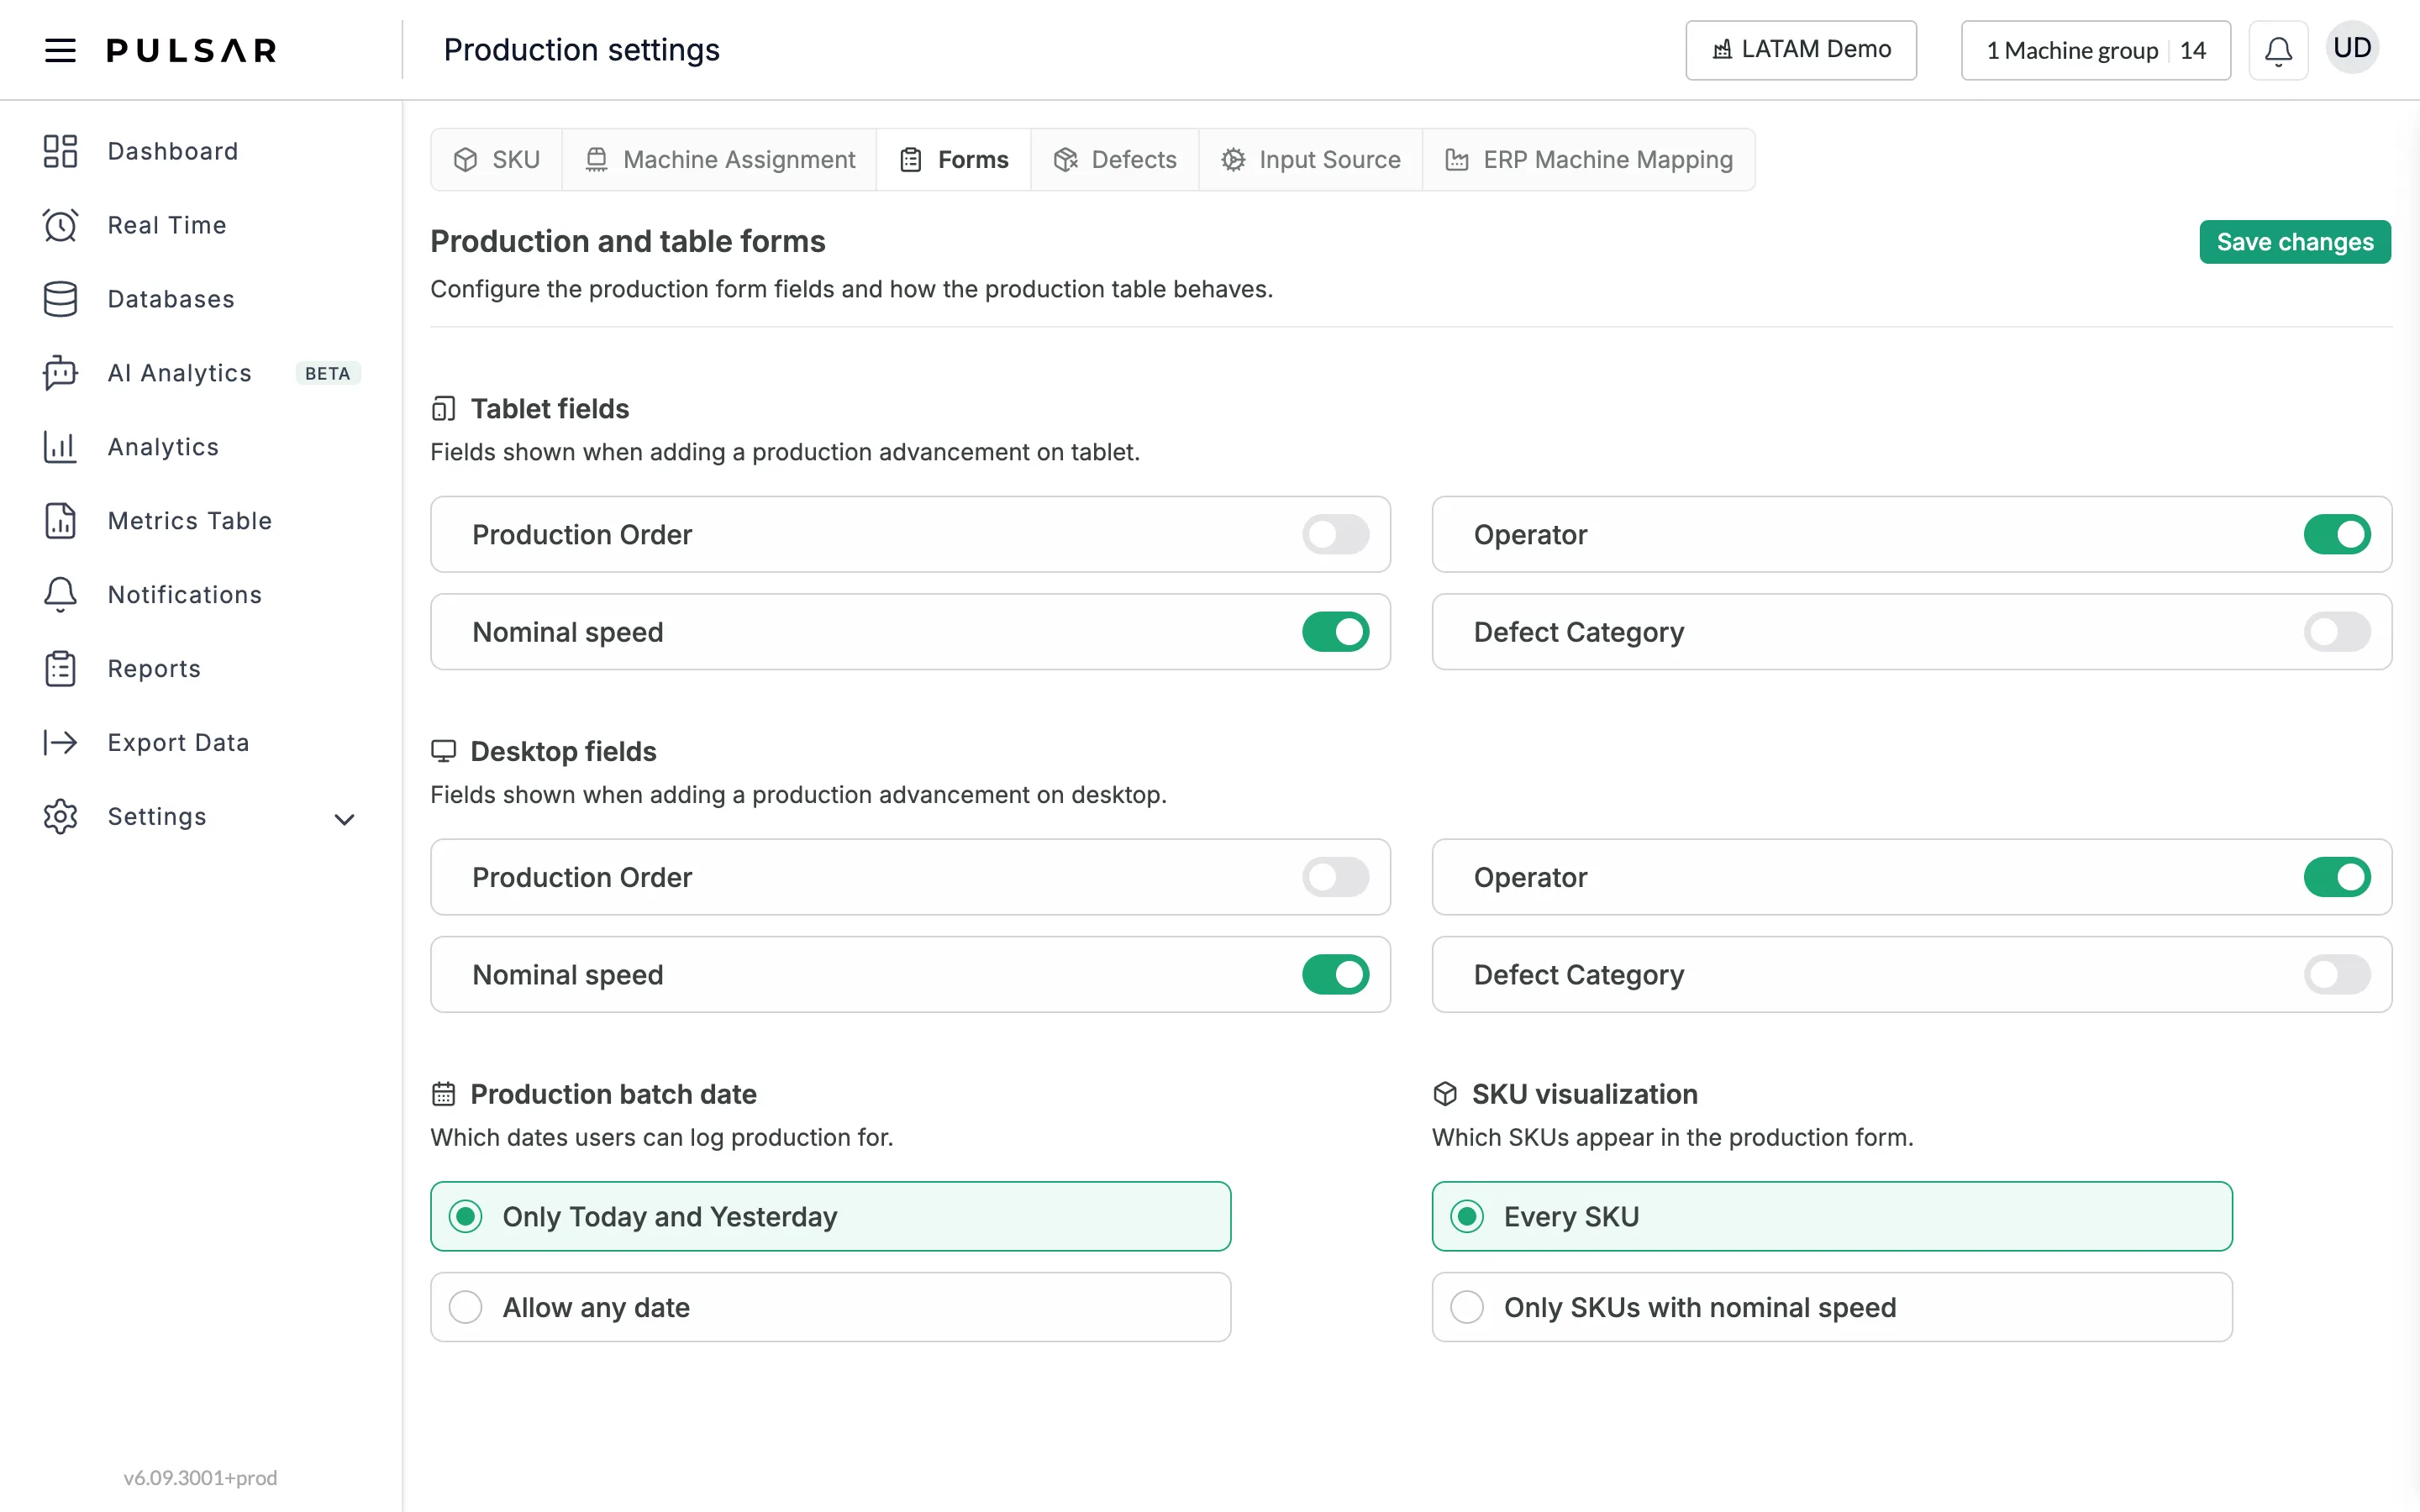
On the Forms tab (Production and table forms), choose which fields appear in the production table and, therefore, in the forms used to record production. Turn each field on or off separately in Tablet fields and Desktop fields: Production Order, Operator, Nominal speed and Defect Category. For example, hide Nominal speed on the tablet so operators can't change speeds and performance % calculations, but keep it visible on desktop, since supervisors handle or check that information.
The same tab sets two more options:
- Production batch date: which dates users can log production for, Only Today and Yesterday or Allow any date.
- SKU visualization: which SKUs appear in the production form, Every SKU or Only SKUs with nominal speed.
Click Save changes to apply them. Your Customer Success Manager (CSM) can suggest the best options for your operation and goals.
Upload in bulk
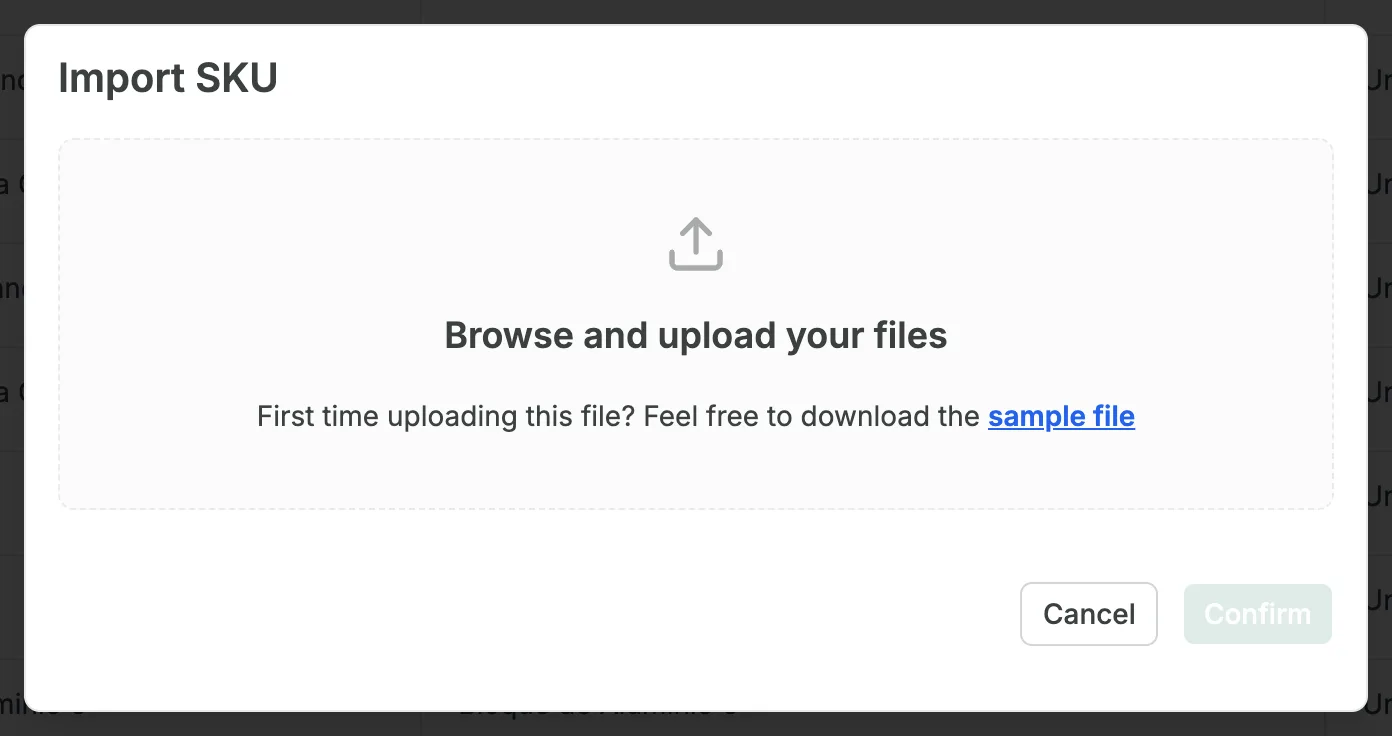
To load many items at once, open the tab for the data you want to upload (SKU, Machine Assignment or Defects) and click Import.
In the import window, click sample file to download it.
Edit the sample file and add your data. Save it, keeping the .csv format.
Drag the file from your desktop and drop it on Browse and upload your files, or click it to select the file from your folders. Then click Confirm.
If there is an error, Pulsar tells you which line of the file it is on.
The sample file is your guide for bulk imports: it has the columns a successful upload needs. Download it the first time you upload data, and reuse it whenever you add new information. Enter your data under the headings in row 1; for example, the SKU file has SKU, Name and Unit type.
Keep row 1 exactly as it is in the sample file. Don't change or delete it.
Want to try Production but it's not included in your current subscription? Ask your Customer Success representative for a free trial and start measuring OEE in real time.
If you have trouble creating production records or need help, contact your Customer Success representative or raise a support ticket from the app.