Stop catalog
Create the stop causes, group them into a stop catalog and assign it to your machines so their stops can be classified.
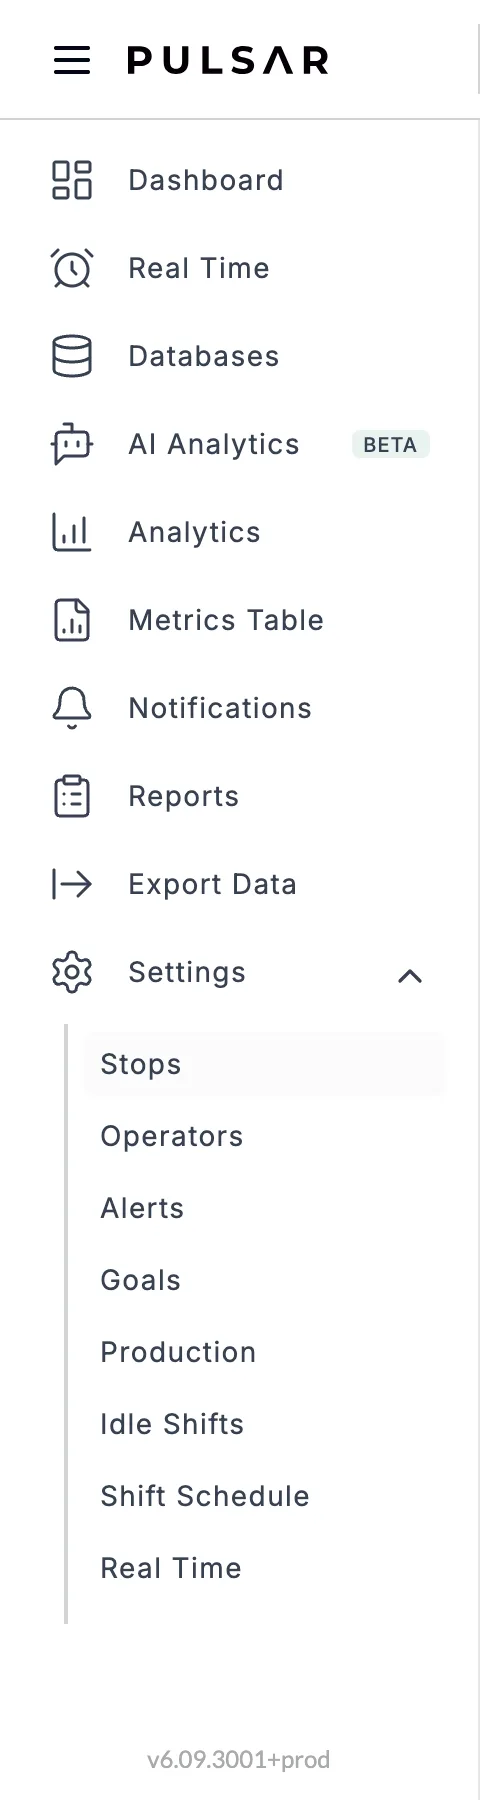
The stop catalog holds the causes used to classify each machine's stops. To set it up, open Settings and select Stops. The Stops Settings page has four tabs: Stop Labels, Stop Catalogs, Catalog Assignment and Stop Automation. Setting up a catalog takes three steps, one per tab: create the stop labels, build a catalog from them, and assign the catalog to your machines.
Video
Create stop labels
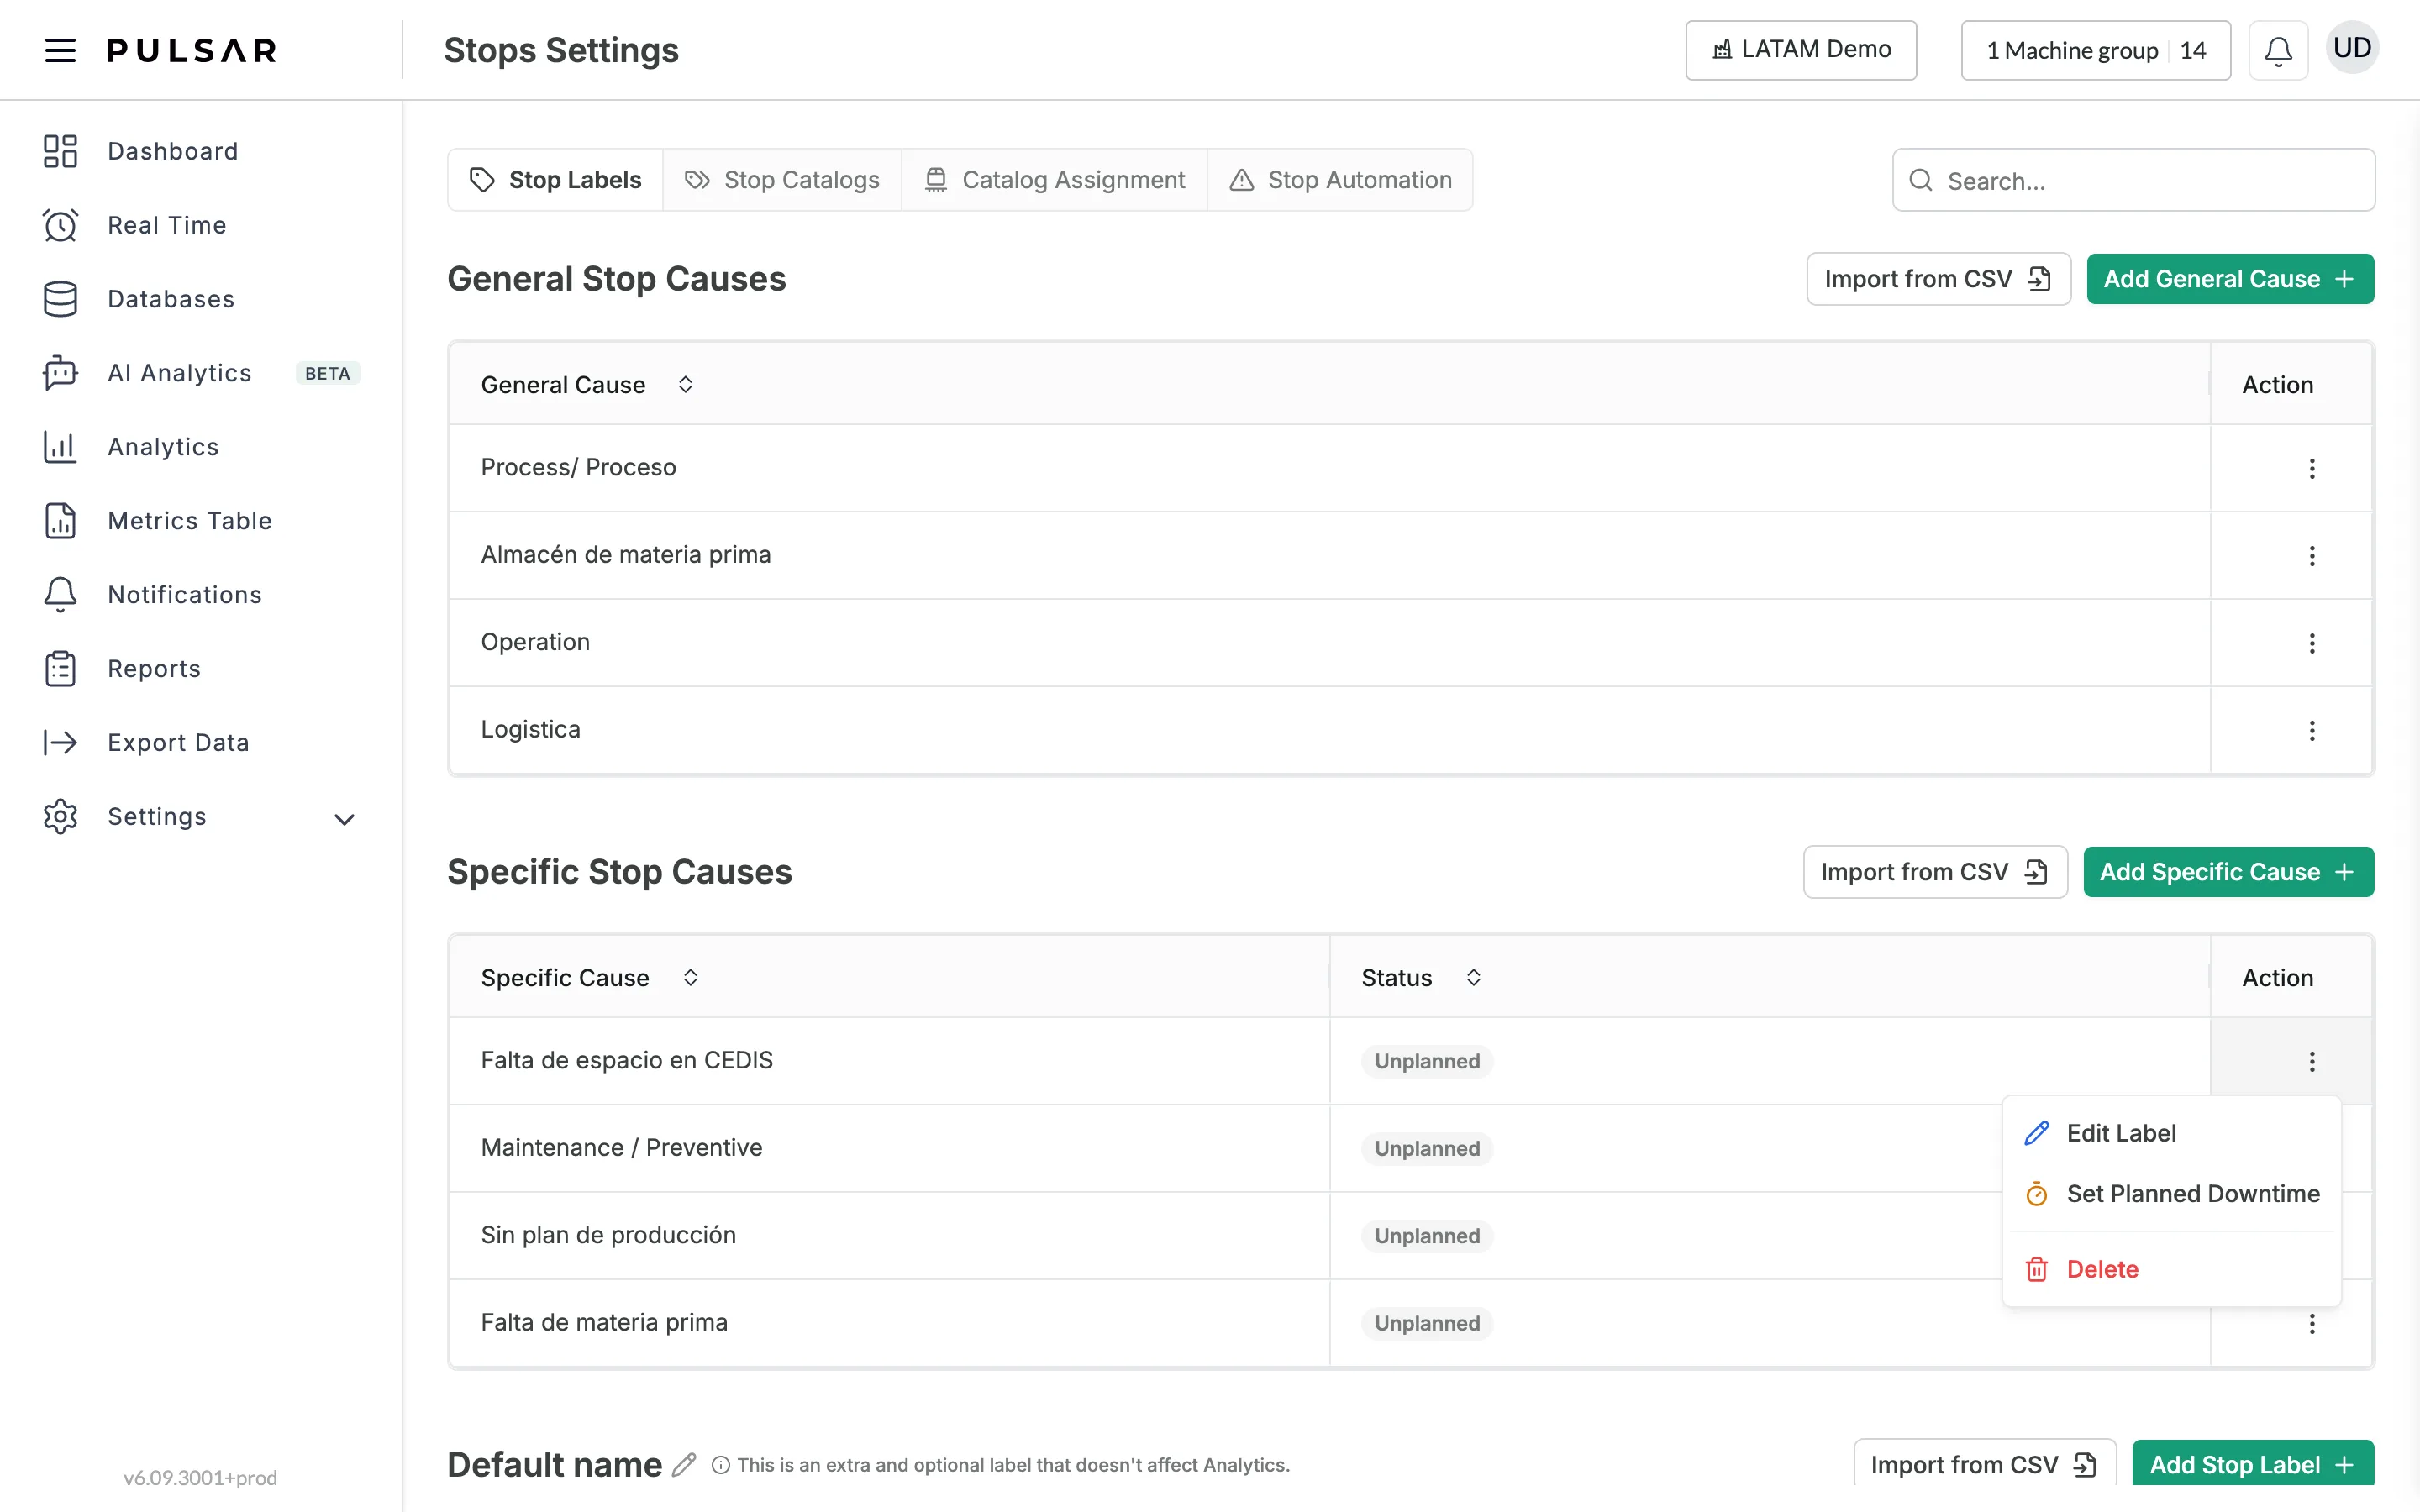
On the Stop Labels tab, stop labels have two levels of causes, each in its own table: General Stop Causes and Specific Stop Causes. Use the Search... box at the top right to find a cause in a long list. You can add causes in two ways:
- One by one: click Add General Cause or Add Specific Cause, type the cause in Name and click Add General Cause or Add Specific Cause in the window.
- From a file: click the Import from CSV button of that table. In the upload window, download the sample file, fill it in, upload it with Browse and upload your files and click Confirm.
To import causes, create one file for General Causes and another for Specific Causes, and import each one from its own table. They can't be in the same file.
To rename or remove a cause, click the three dots (⋮) in its Action column and choose Edit Label or Delete.
Mark a planned stop
Planned stops don't count as operational losses in the metrics: Pulsar subtracts them from the shift's total time when it calculates the metrics.
To mark a specific cause as a planned stop, click the three dots (⋮) in its Action column and select Set Planned Downtime. Its Status column changes from Unplanned to Planned. See Planned and unplanned stops for the details.
Create a stop catalog
- On the Stop Catalogs tab, click New Stop Catalog.
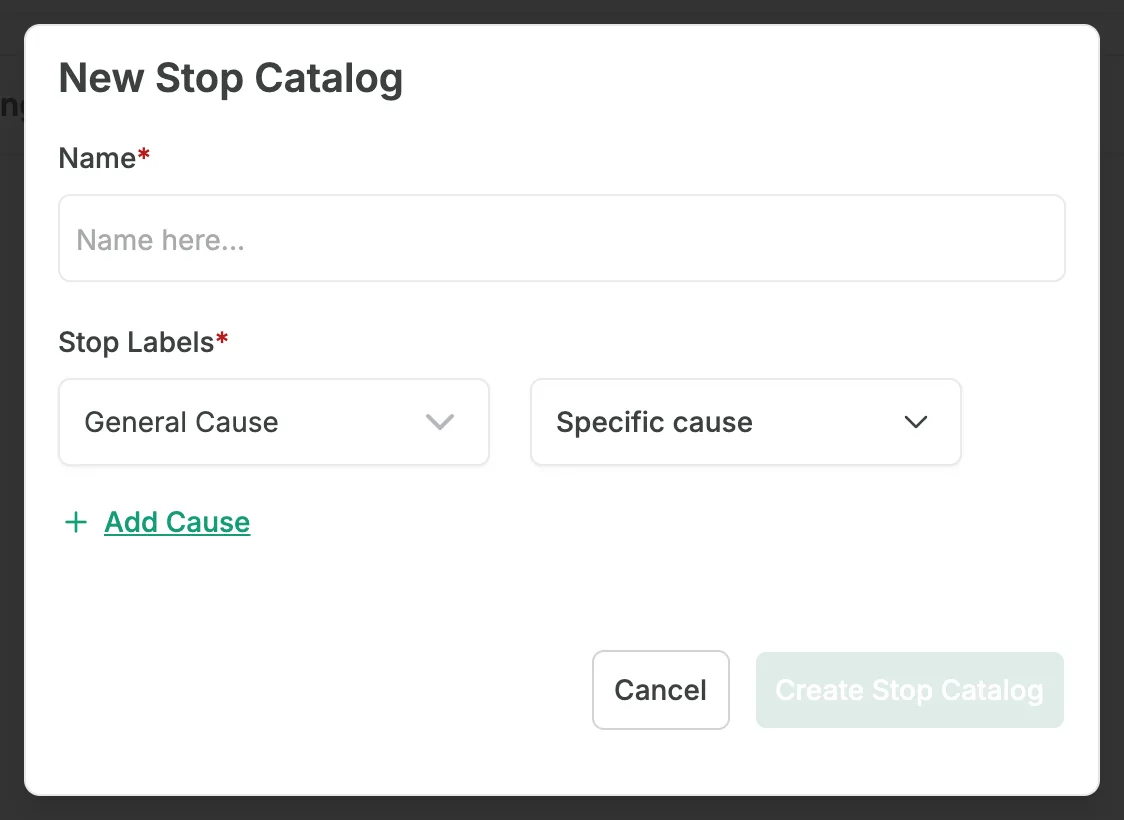
- Type the catalog's Name. This is very important: you use it to link the catalog to machines in the next step.
- Under Stop Labels, select a General Cause and then its causes in Specific cause. That list shows every specific cause you created or imported in the previous step: search it, tick as many as you need (or Select all) and click Apply. Each General Cause needs at least one Specific Cause.
- Click Add Cause to add another General Cause with its specific causes, and repeat until the catalog is complete.
- Click Create Stop Catalog.
The Stop Catalogs tab lists your catalogs. Click a catalog's name to see its General Causes and Specific Causes. The three dots (⋮) next to it let you Edit, Duplicate, Download or Delete it.
Assign the stop catalog
The last step is to assign each machine its stop catalog.
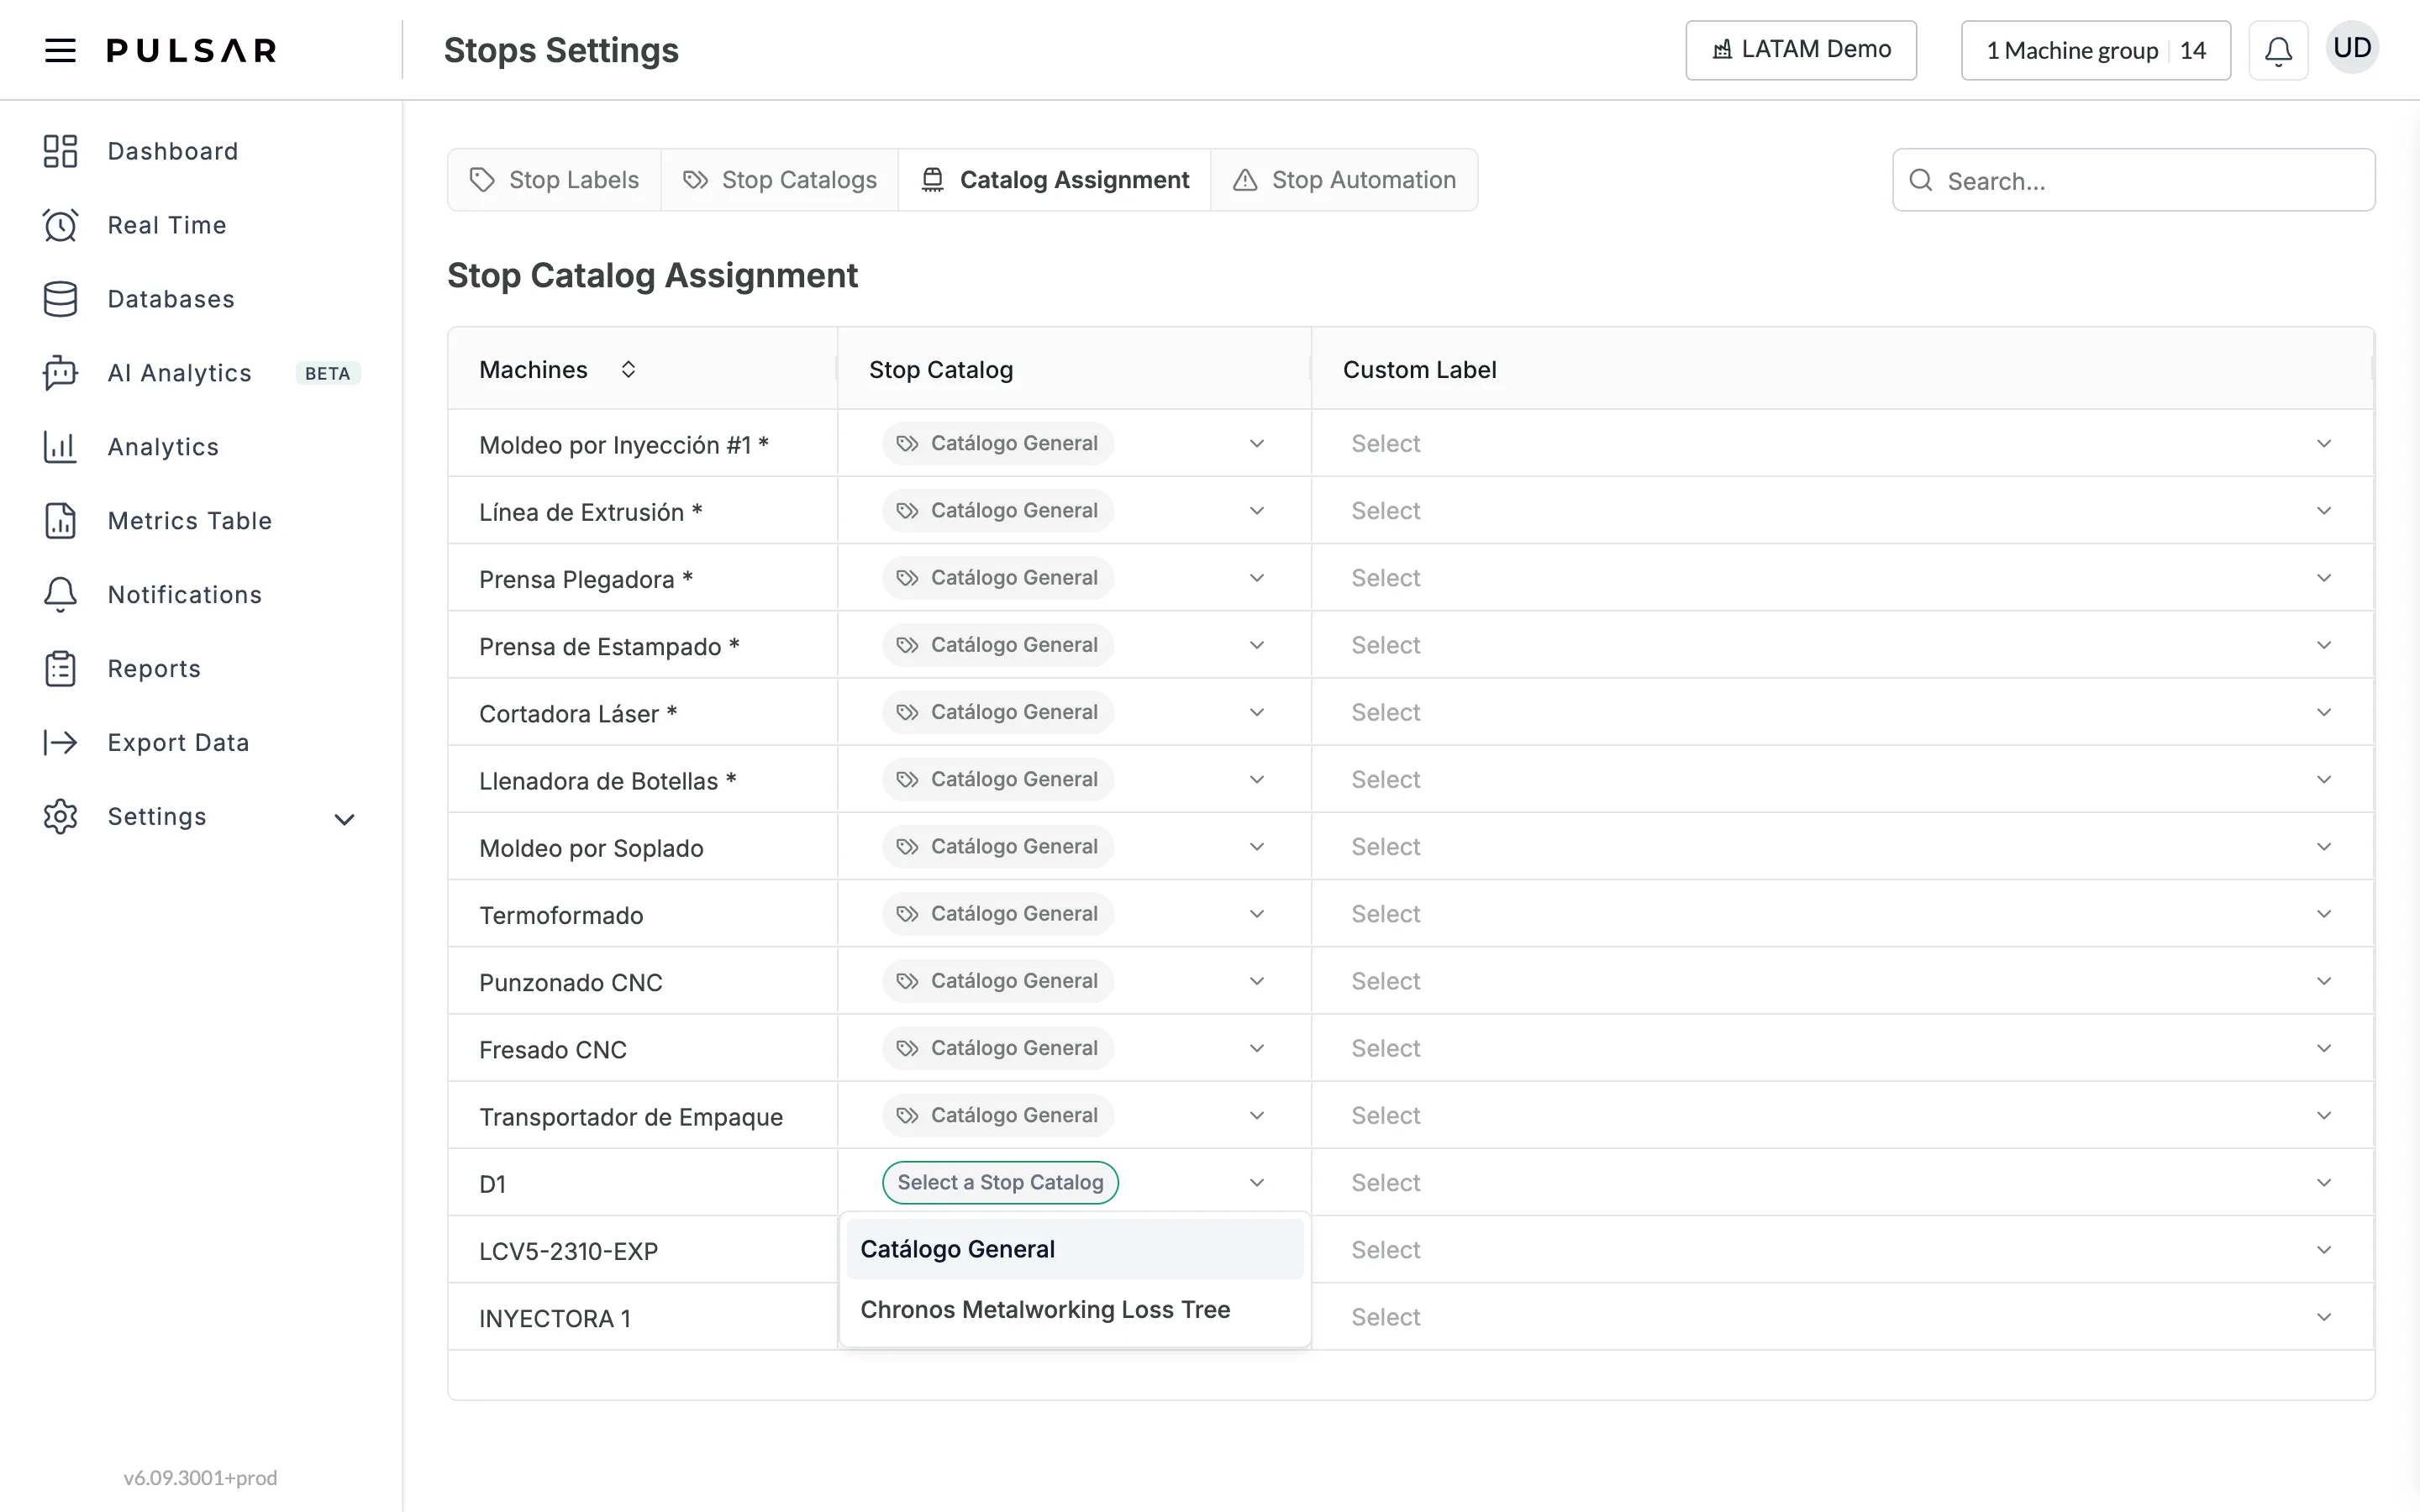
- Open the Catalog Assignment tab. The table lists each machine with its Stop Catalog and its Custom Label values.
- In the Stop Catalog column, click the machine's current catalog, or Select a Stop Catalog if it has none.
- Choose the catalog for that machine from the list. There's no separate save button on this tab.
Each machine has one stop catalog, but your operation can have several catalogs, one for each kind of machine.
If you have trouble with the stop catalog or need help, contact your Customer Success representative or raise a support ticket from the app.