Users
Understand Pulsar's user roles, and create, edit, delete and set permissions for the users in your account.
Pulsar has three user roles:
- User (basic user): can view and interact with the app, on tablet and desktop. This role usually goes to people who will only make entries (stops, SKU, operators, defects) in the mobile app, or who use the desktop app as a consultation tool.
- Admin: everything a basic user can do, plus access to settings, except users and recipients. This role is for people responsible for configuring and updating the desktop platform who don't need permission to manage users.
- Super Admin: everything the User and Admin roles can do, plus permission to manage users and recipients in the platform. The users table shows this role as Superadmin.
What each role can do with stops and production records is set on the Permissions tab.
Video
Create a user
Open the Pulsar desktop app on your computer.
In the left-hand menu, open Settings and select Users Settings.
On the Users tab, click CREATE USER.
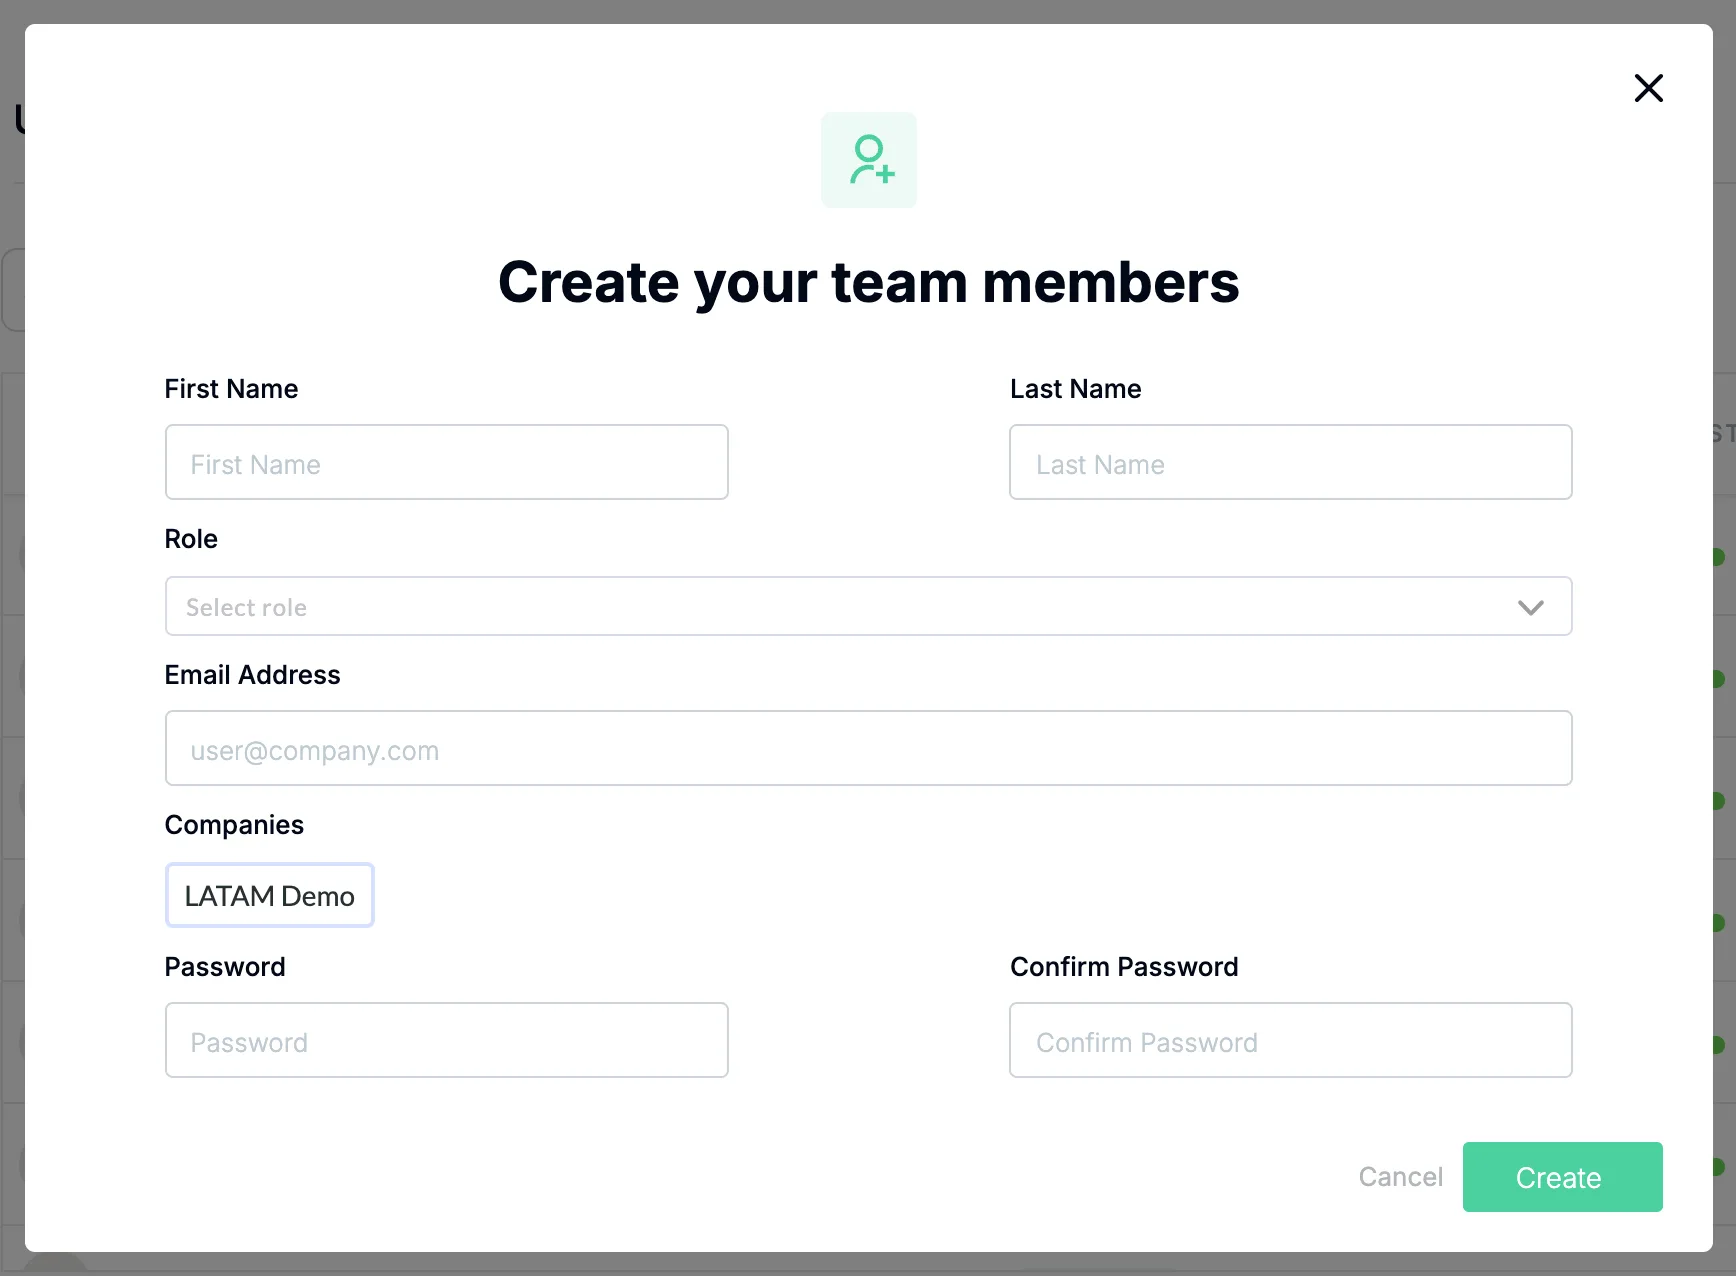
In Create your team members, fill in First Name, Last Name, Role (Super Admin, Admin or User), Email Address, Companies, Password and Confirm Password. As you type the password, a checklist shows whether it meets the rules: Password has more than 8 characters., Password has a number. and Passwords match.
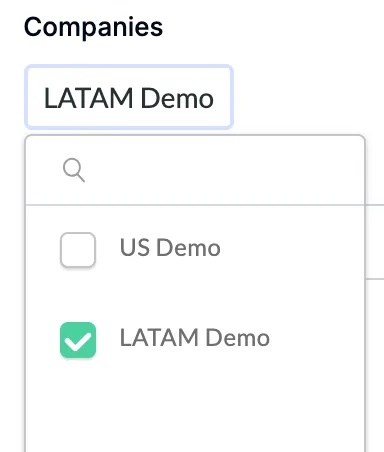
Companies starts with the plant you're working in. If your company has more than one plant in Pulsar and the user needs to see other plants too, click the Companies field and check every plant this user needs to see.
Click Create.
Manage users
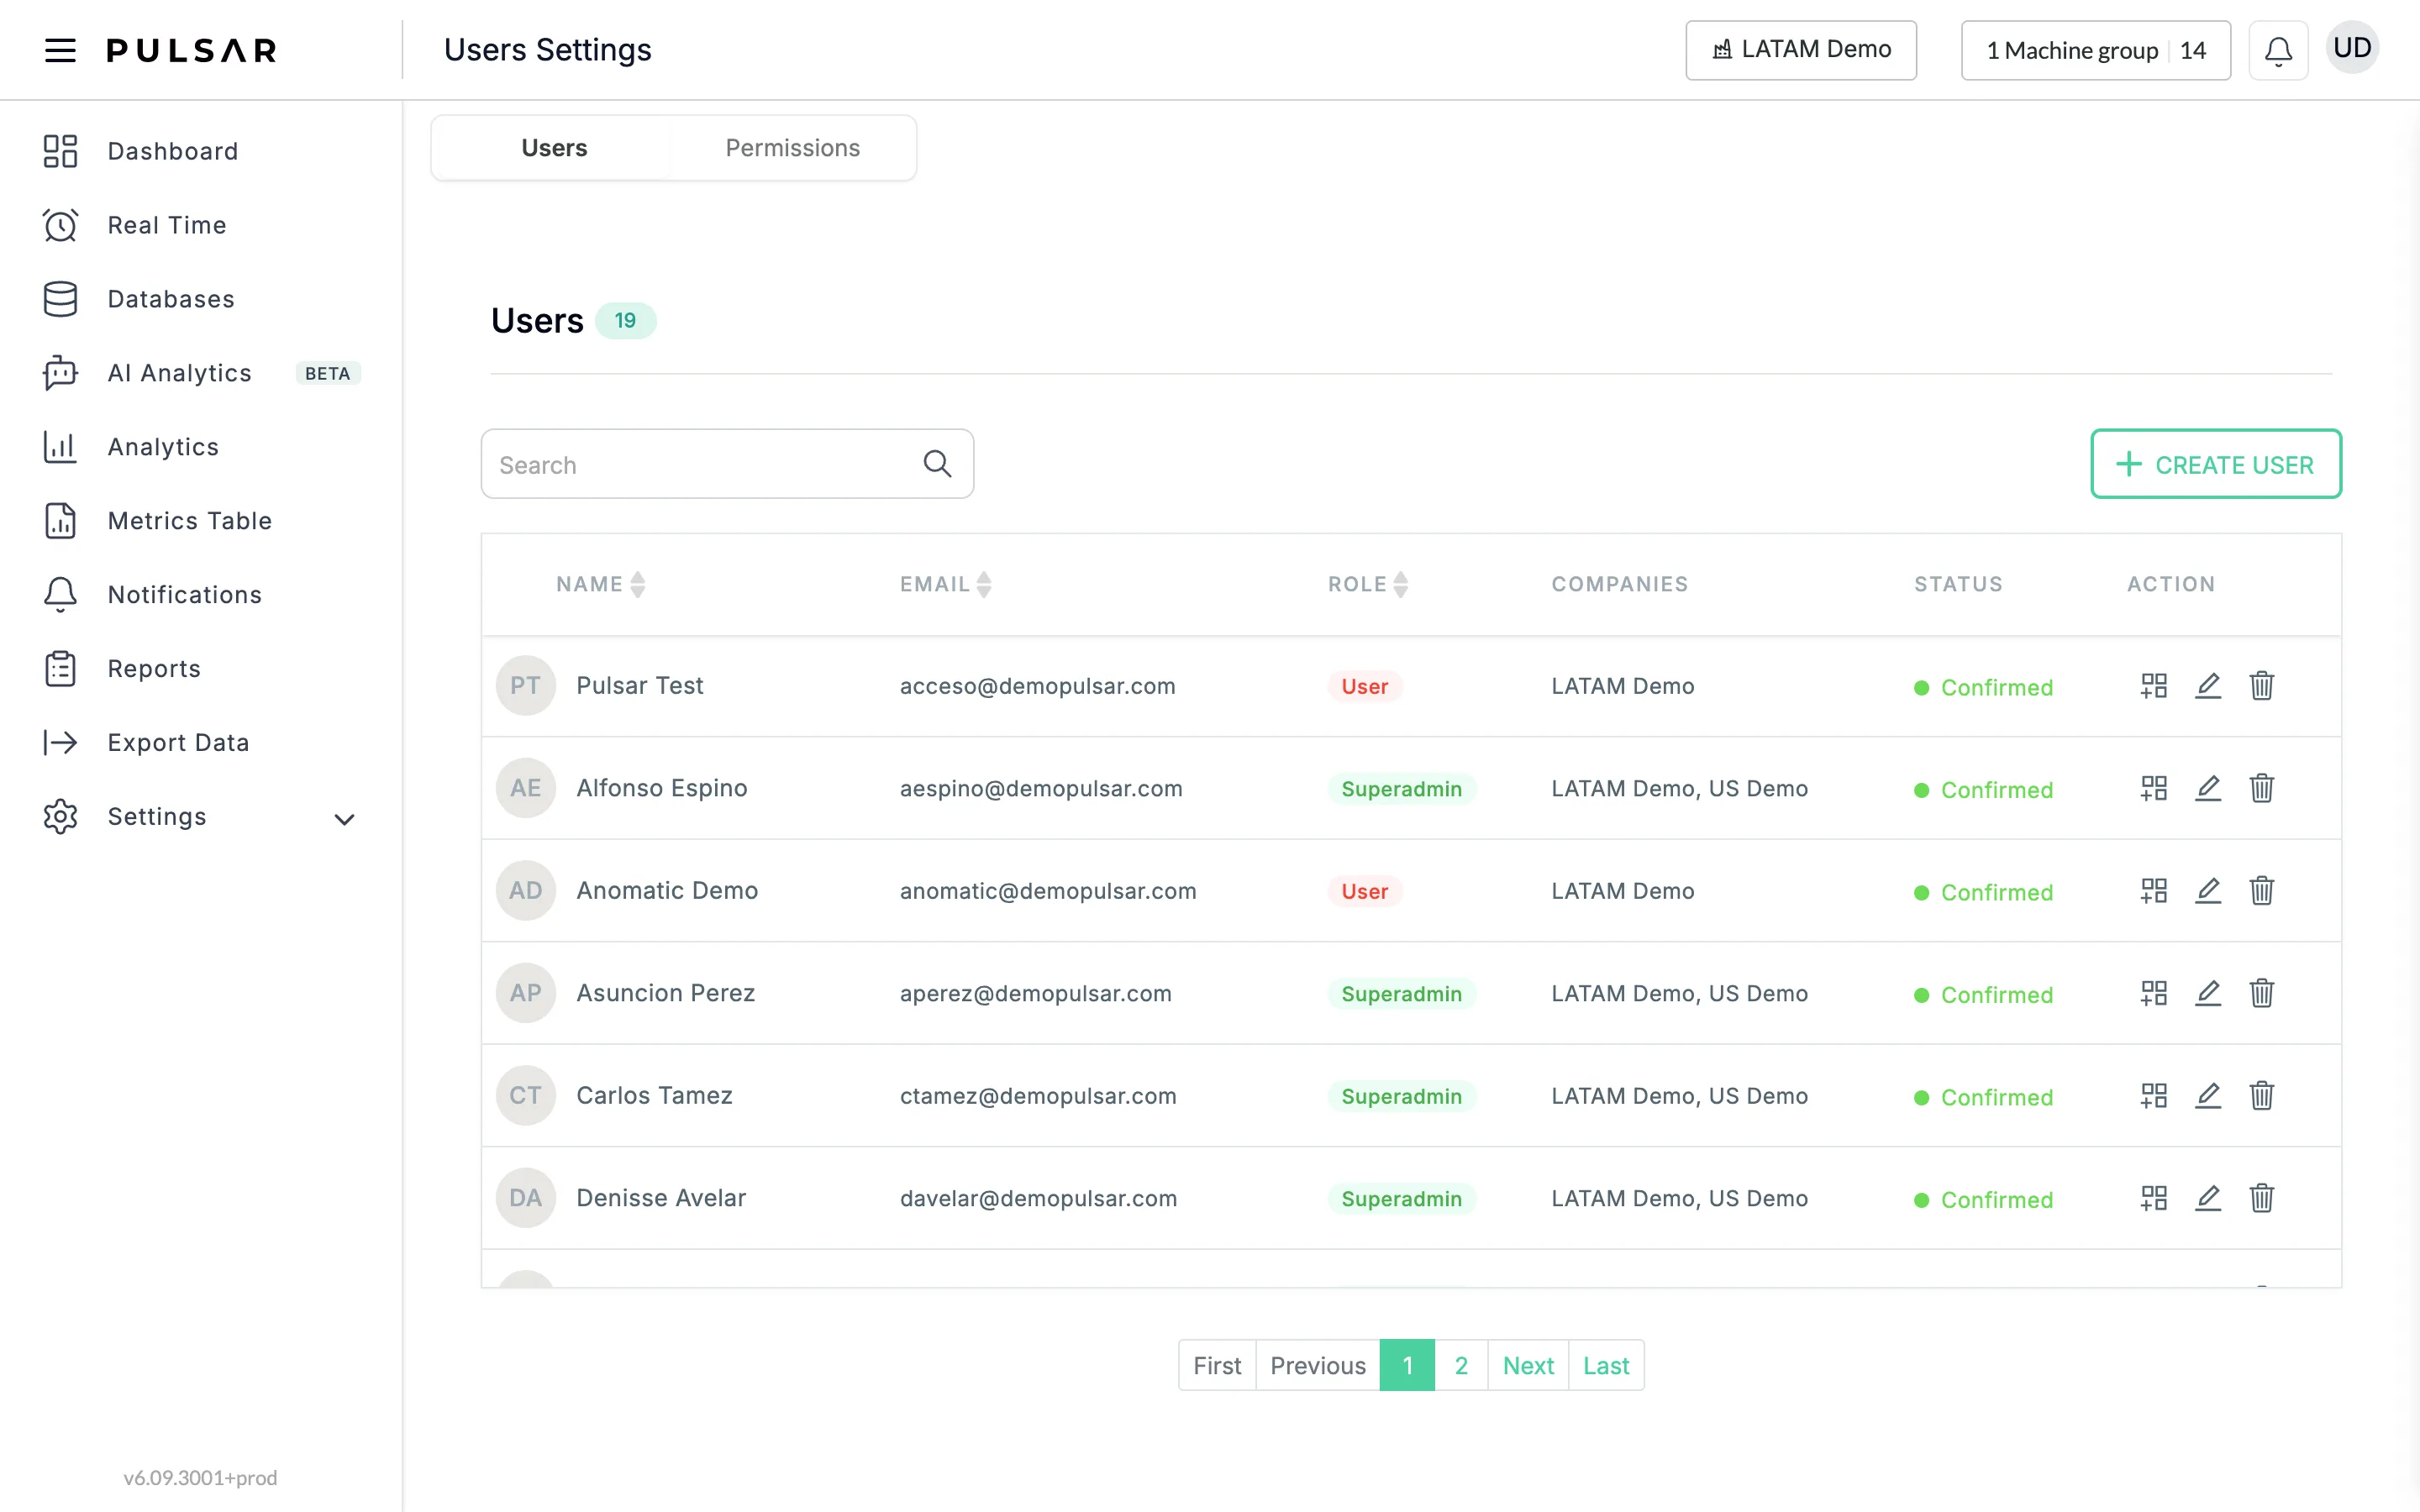
The Users tab lists every user with their NAME, EMAIL, ROLE, COMPANIES and STATUS. Use Search to find one. The ACTION column has three icons for each user: assign a machine group, edit, and delete.
Assign a machine group
- Click the machine group icon.
- In Assign machines group, switch All machines to OFF and select the circle on the right of each machine group the user should see.
- Click Confirm.
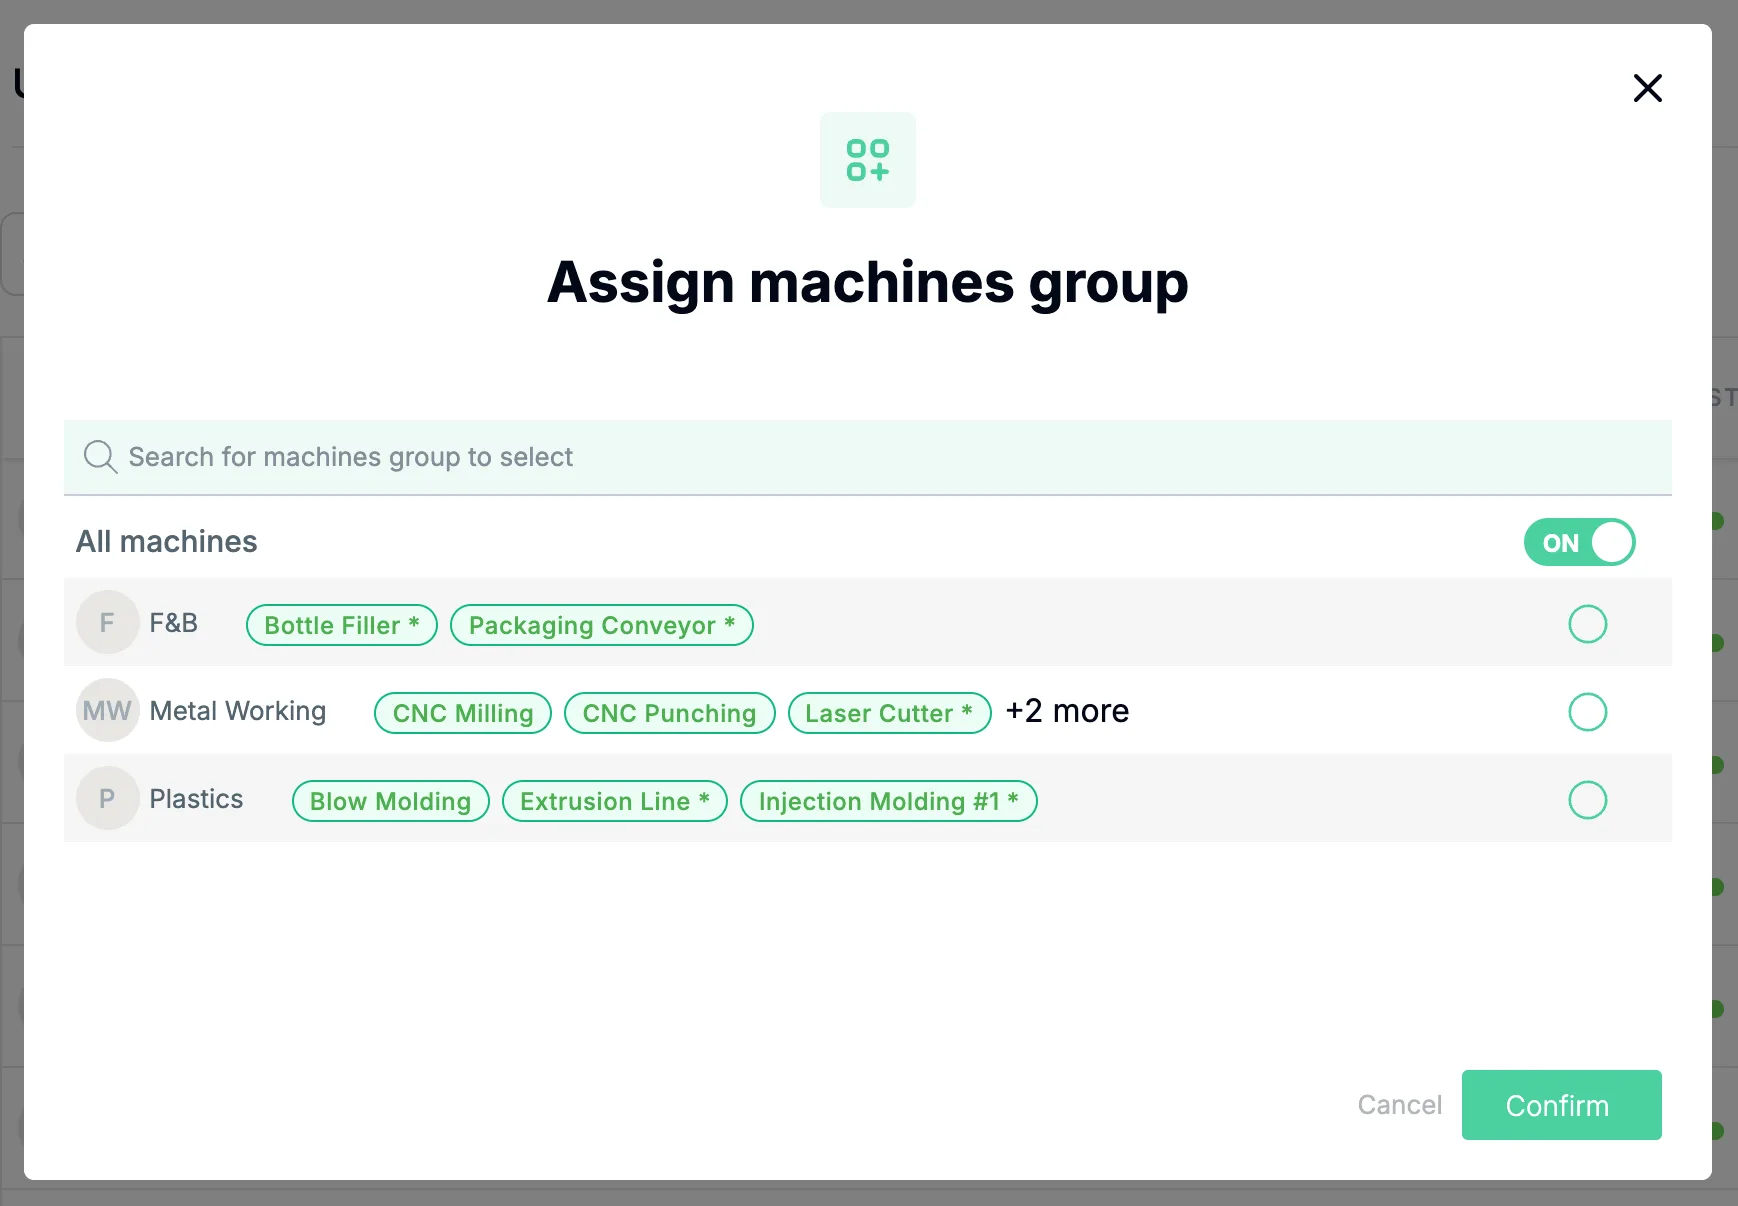
If the user should see all machines, leave All machines on ON.
To learn more about machine groups, see Machine groups.
Edit a user
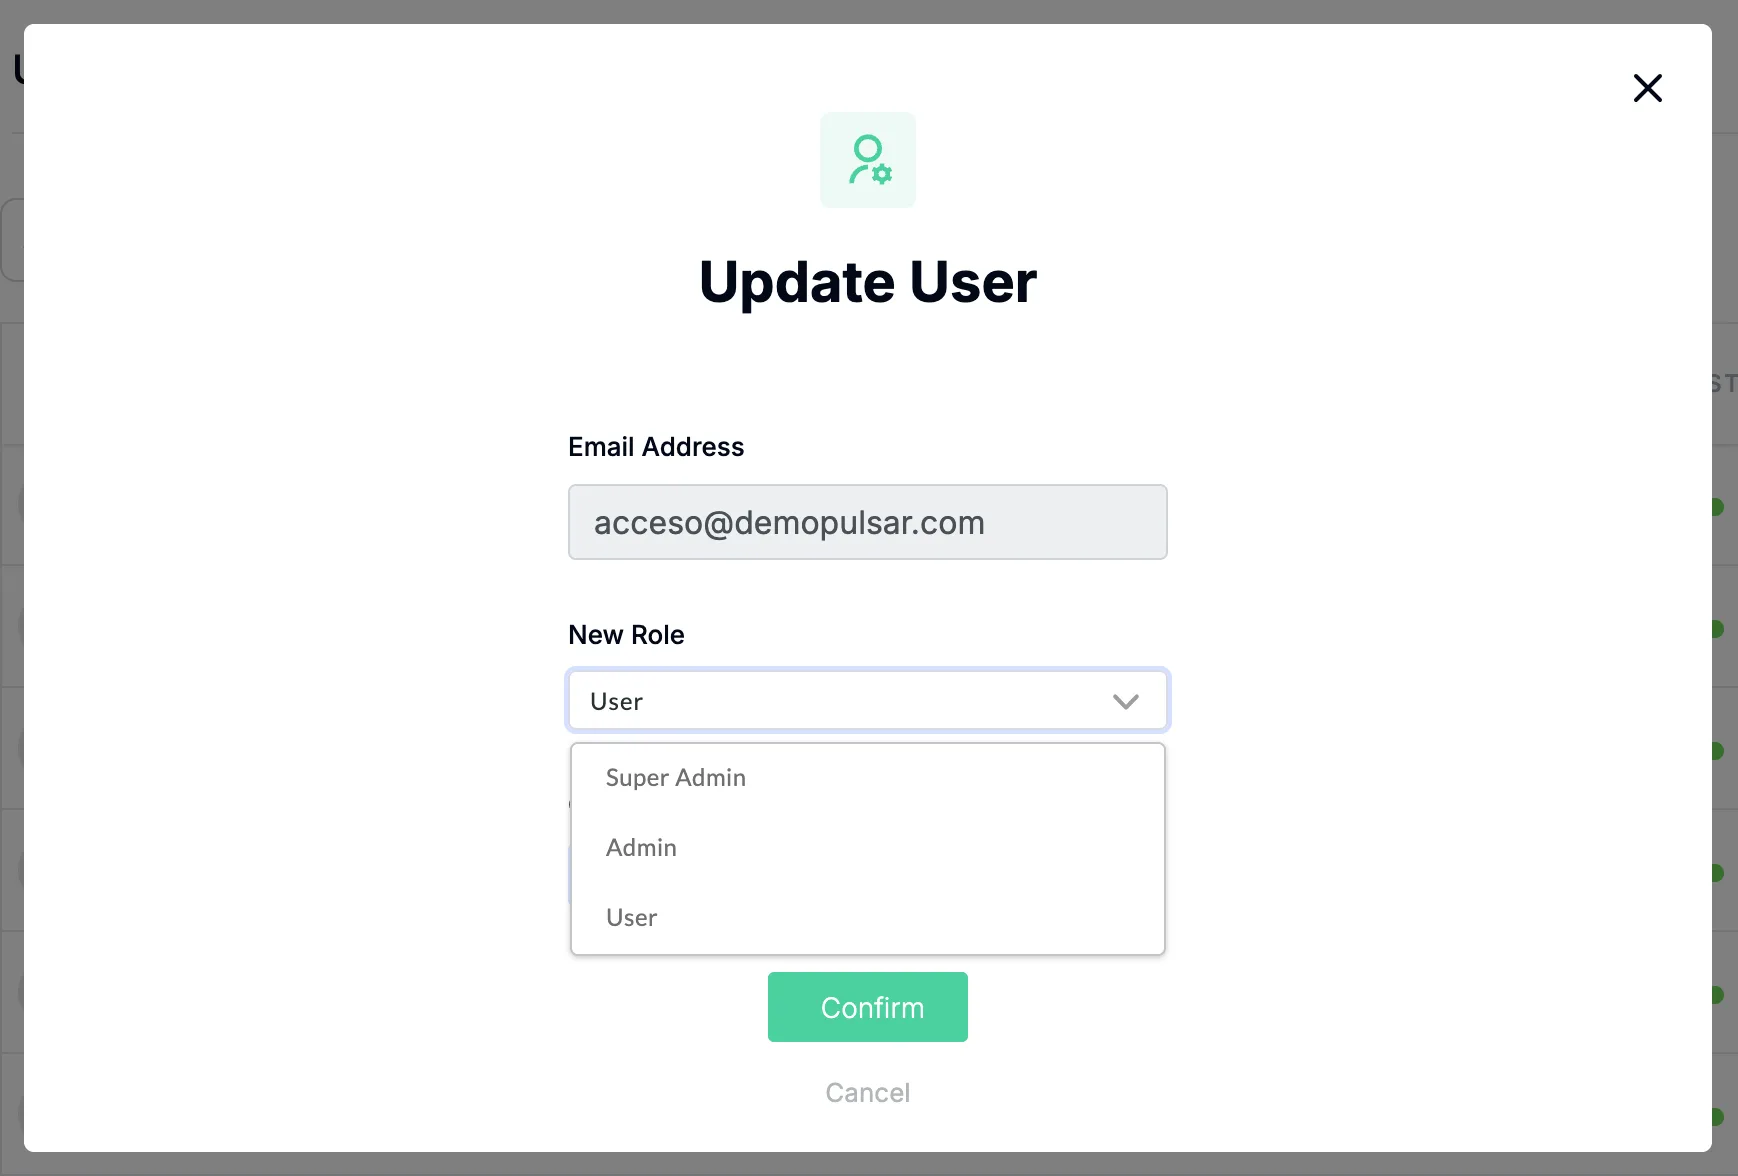
- Click the edit (pencil) icon.
- In Update User, change the user's New Role, their Companies, or both. The email address can't be changed.
- Click Confirm.
Delete a user
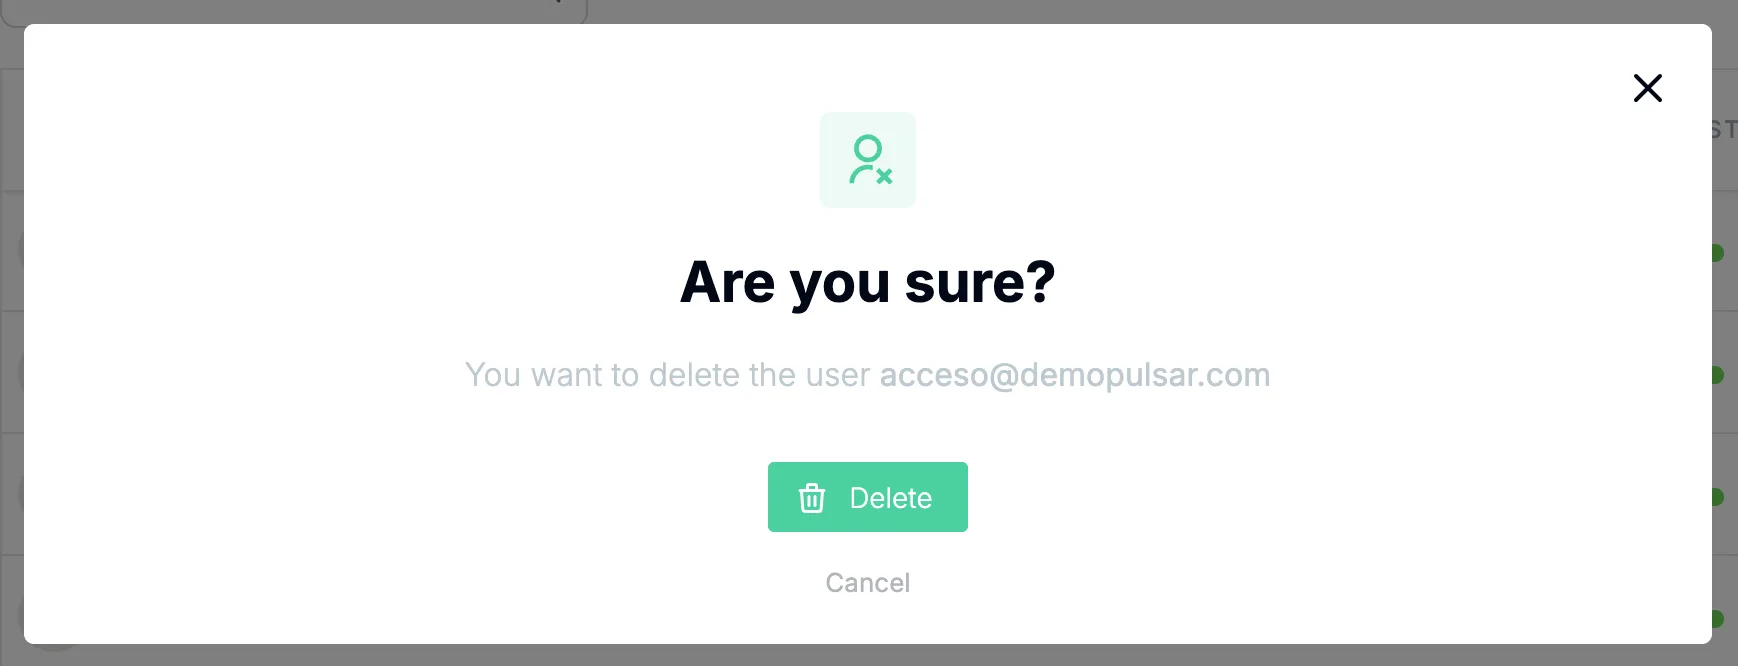
- Click the delete (trash) icon.
- A confirmation message, Are you sure?, asks whether you want to delete that user.
- Click Delete.
Permissions
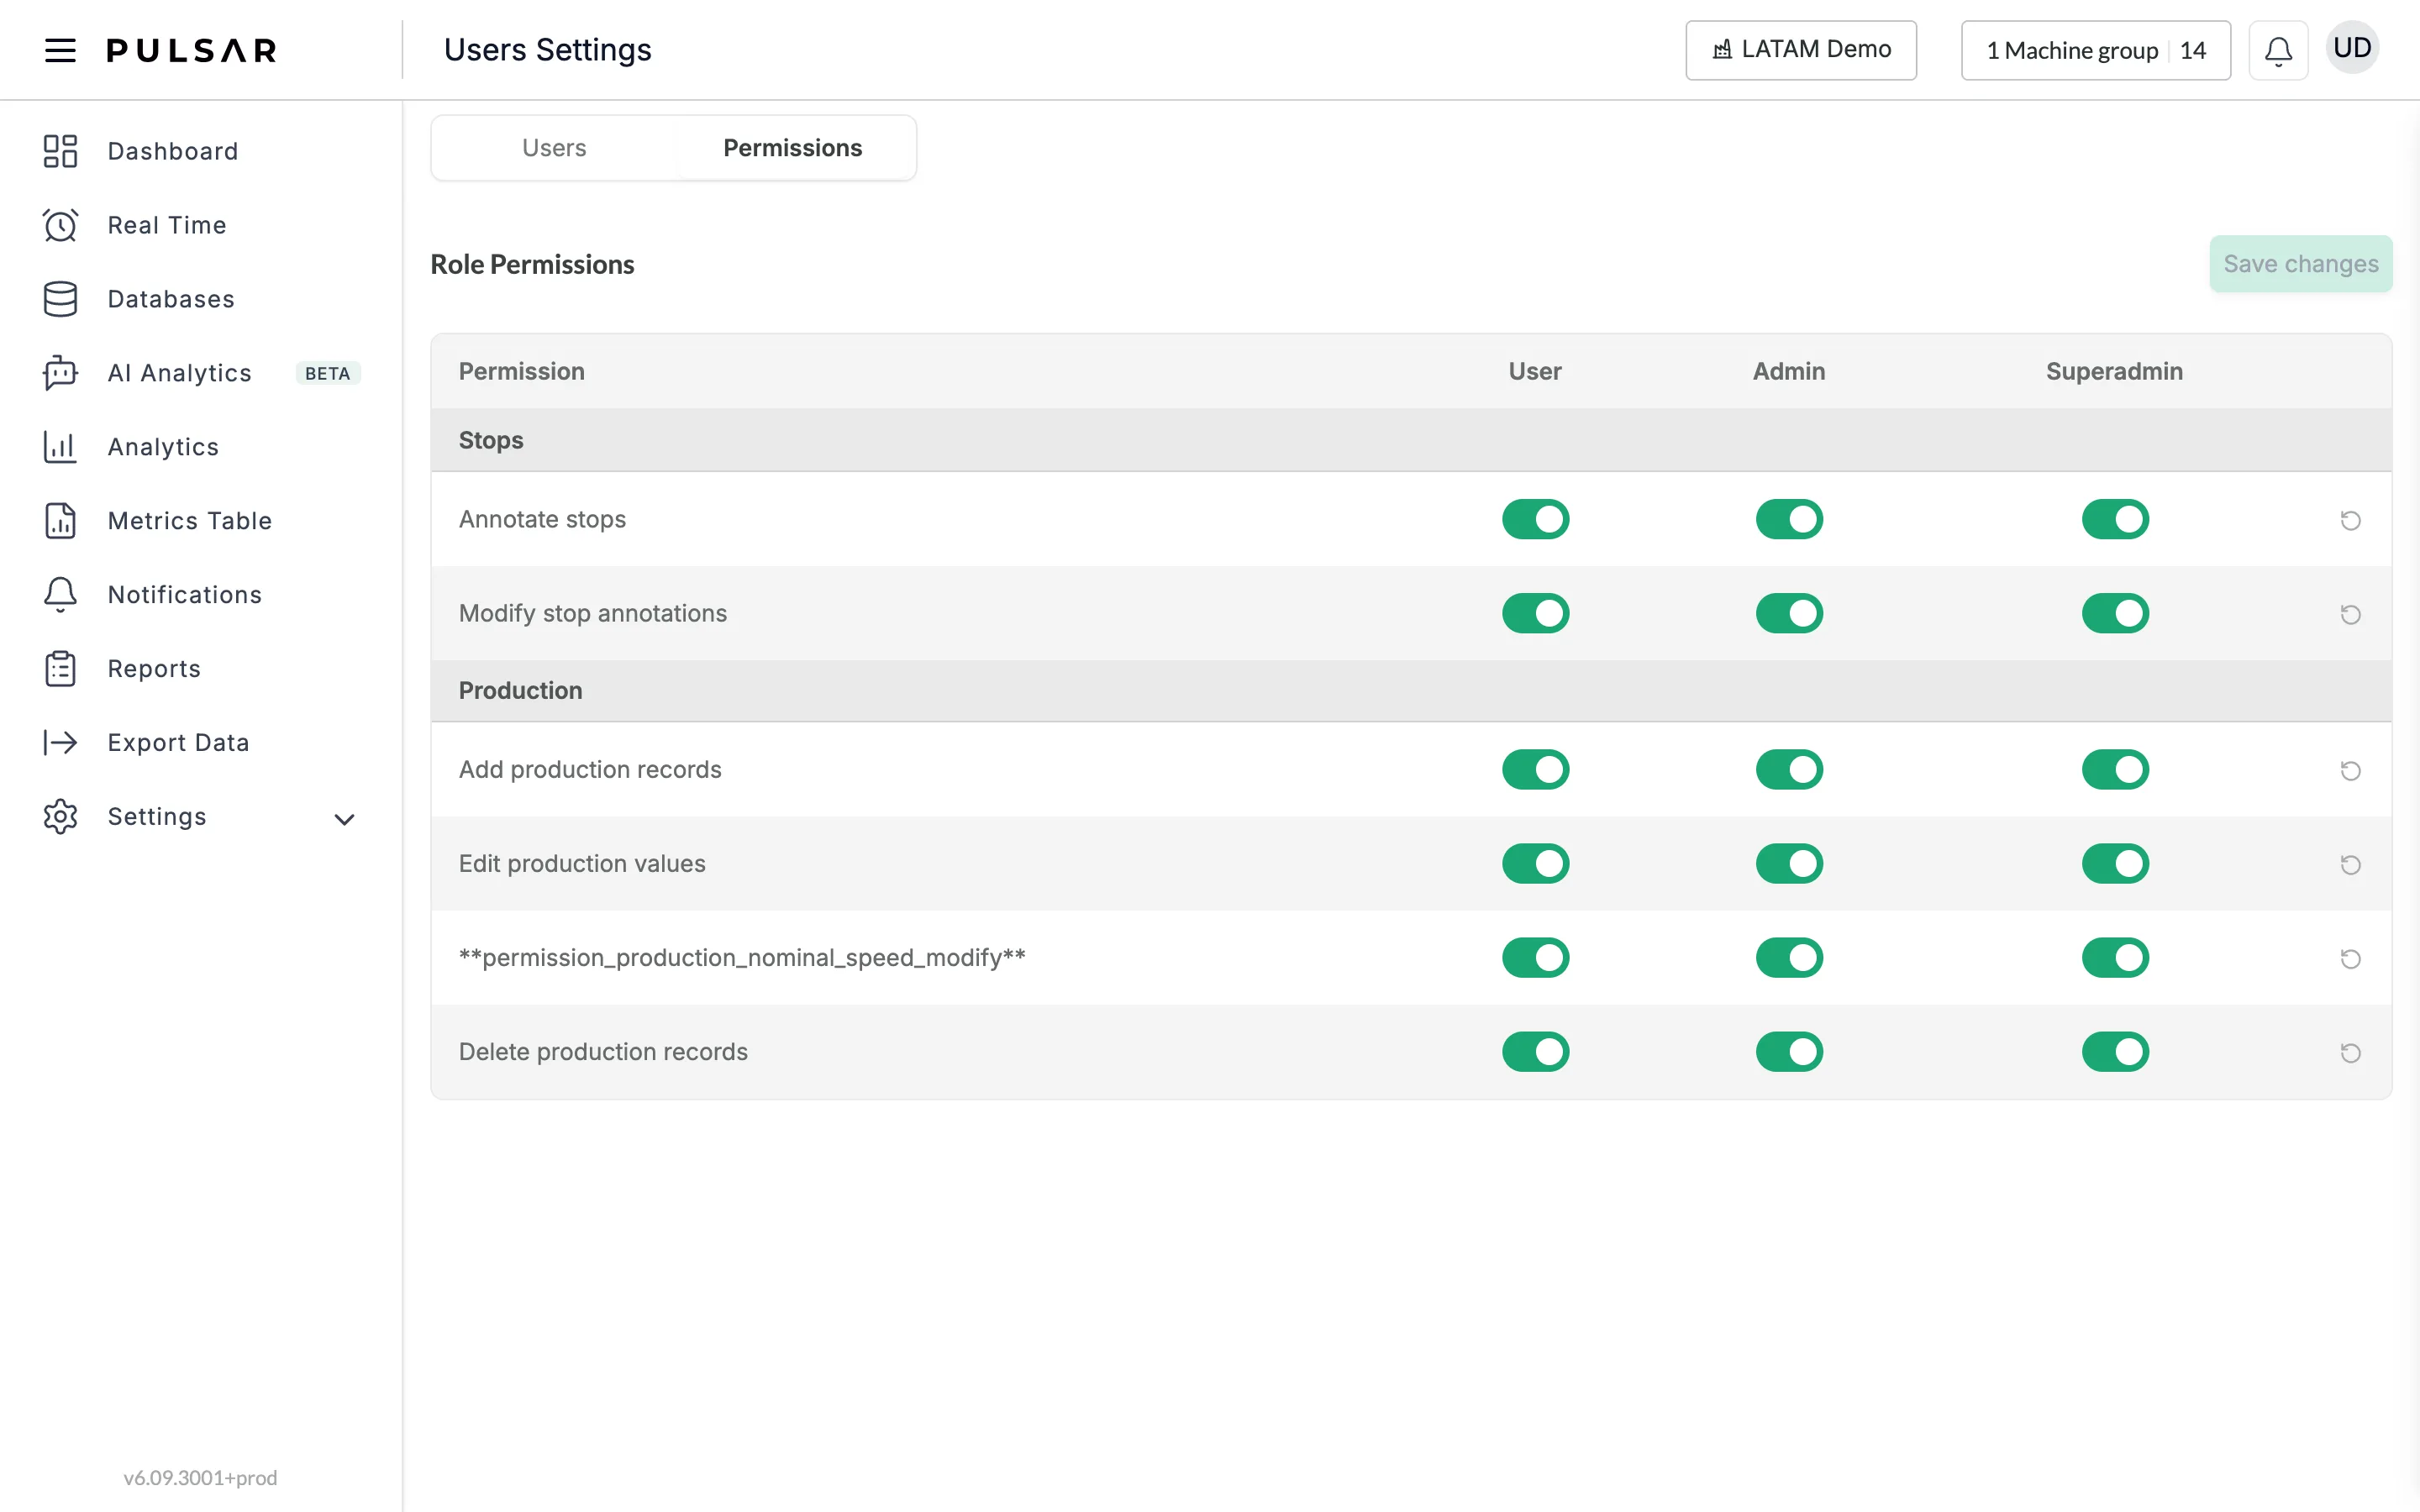
On the Permissions tab, the Role Permissions table sets what each role (User, Admin and Superadmin, one column each) is allowed to do, with a switch per role:
- Stops: Annotate stops and Modify stop annotations.
- Production: Add production records, Edit production values, Delete production records, and a fourth permission the app currently shows as **permission_production_nominal_speed_modify** (an untranslated label; by its name, it controls changing the nominal speed).
The arrow icon at the end of each row (Reset to default) puts that permission back to its default values. Click Save changes when you're done.
Many customers prefer that users can't modify the cause of a stop once it has been recorded. For that, we recommend turning off Modify stop annotations for User and keeping it on for Admin and Superadmin.
Reset a password
There's no password reset in Users Settings: each user resets their own password from the sign-in page, following Change or reset your password.
If you need help resetting a user's password, open a ticket from the desktop app and our team will help you. If it's your own password you want to reset, you can contact us by email and we'll help you.
If you have trouble or need help, contact your Customer Success representative or raise a support ticket from the app.